I love a bolster pillow with sunburst ends.
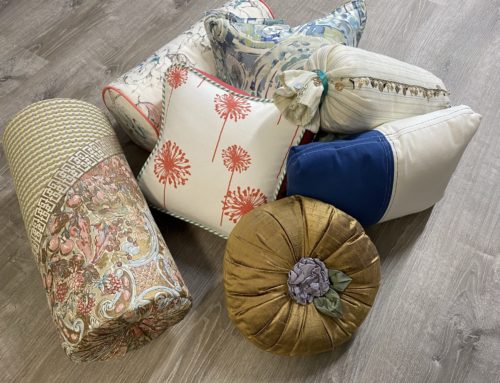
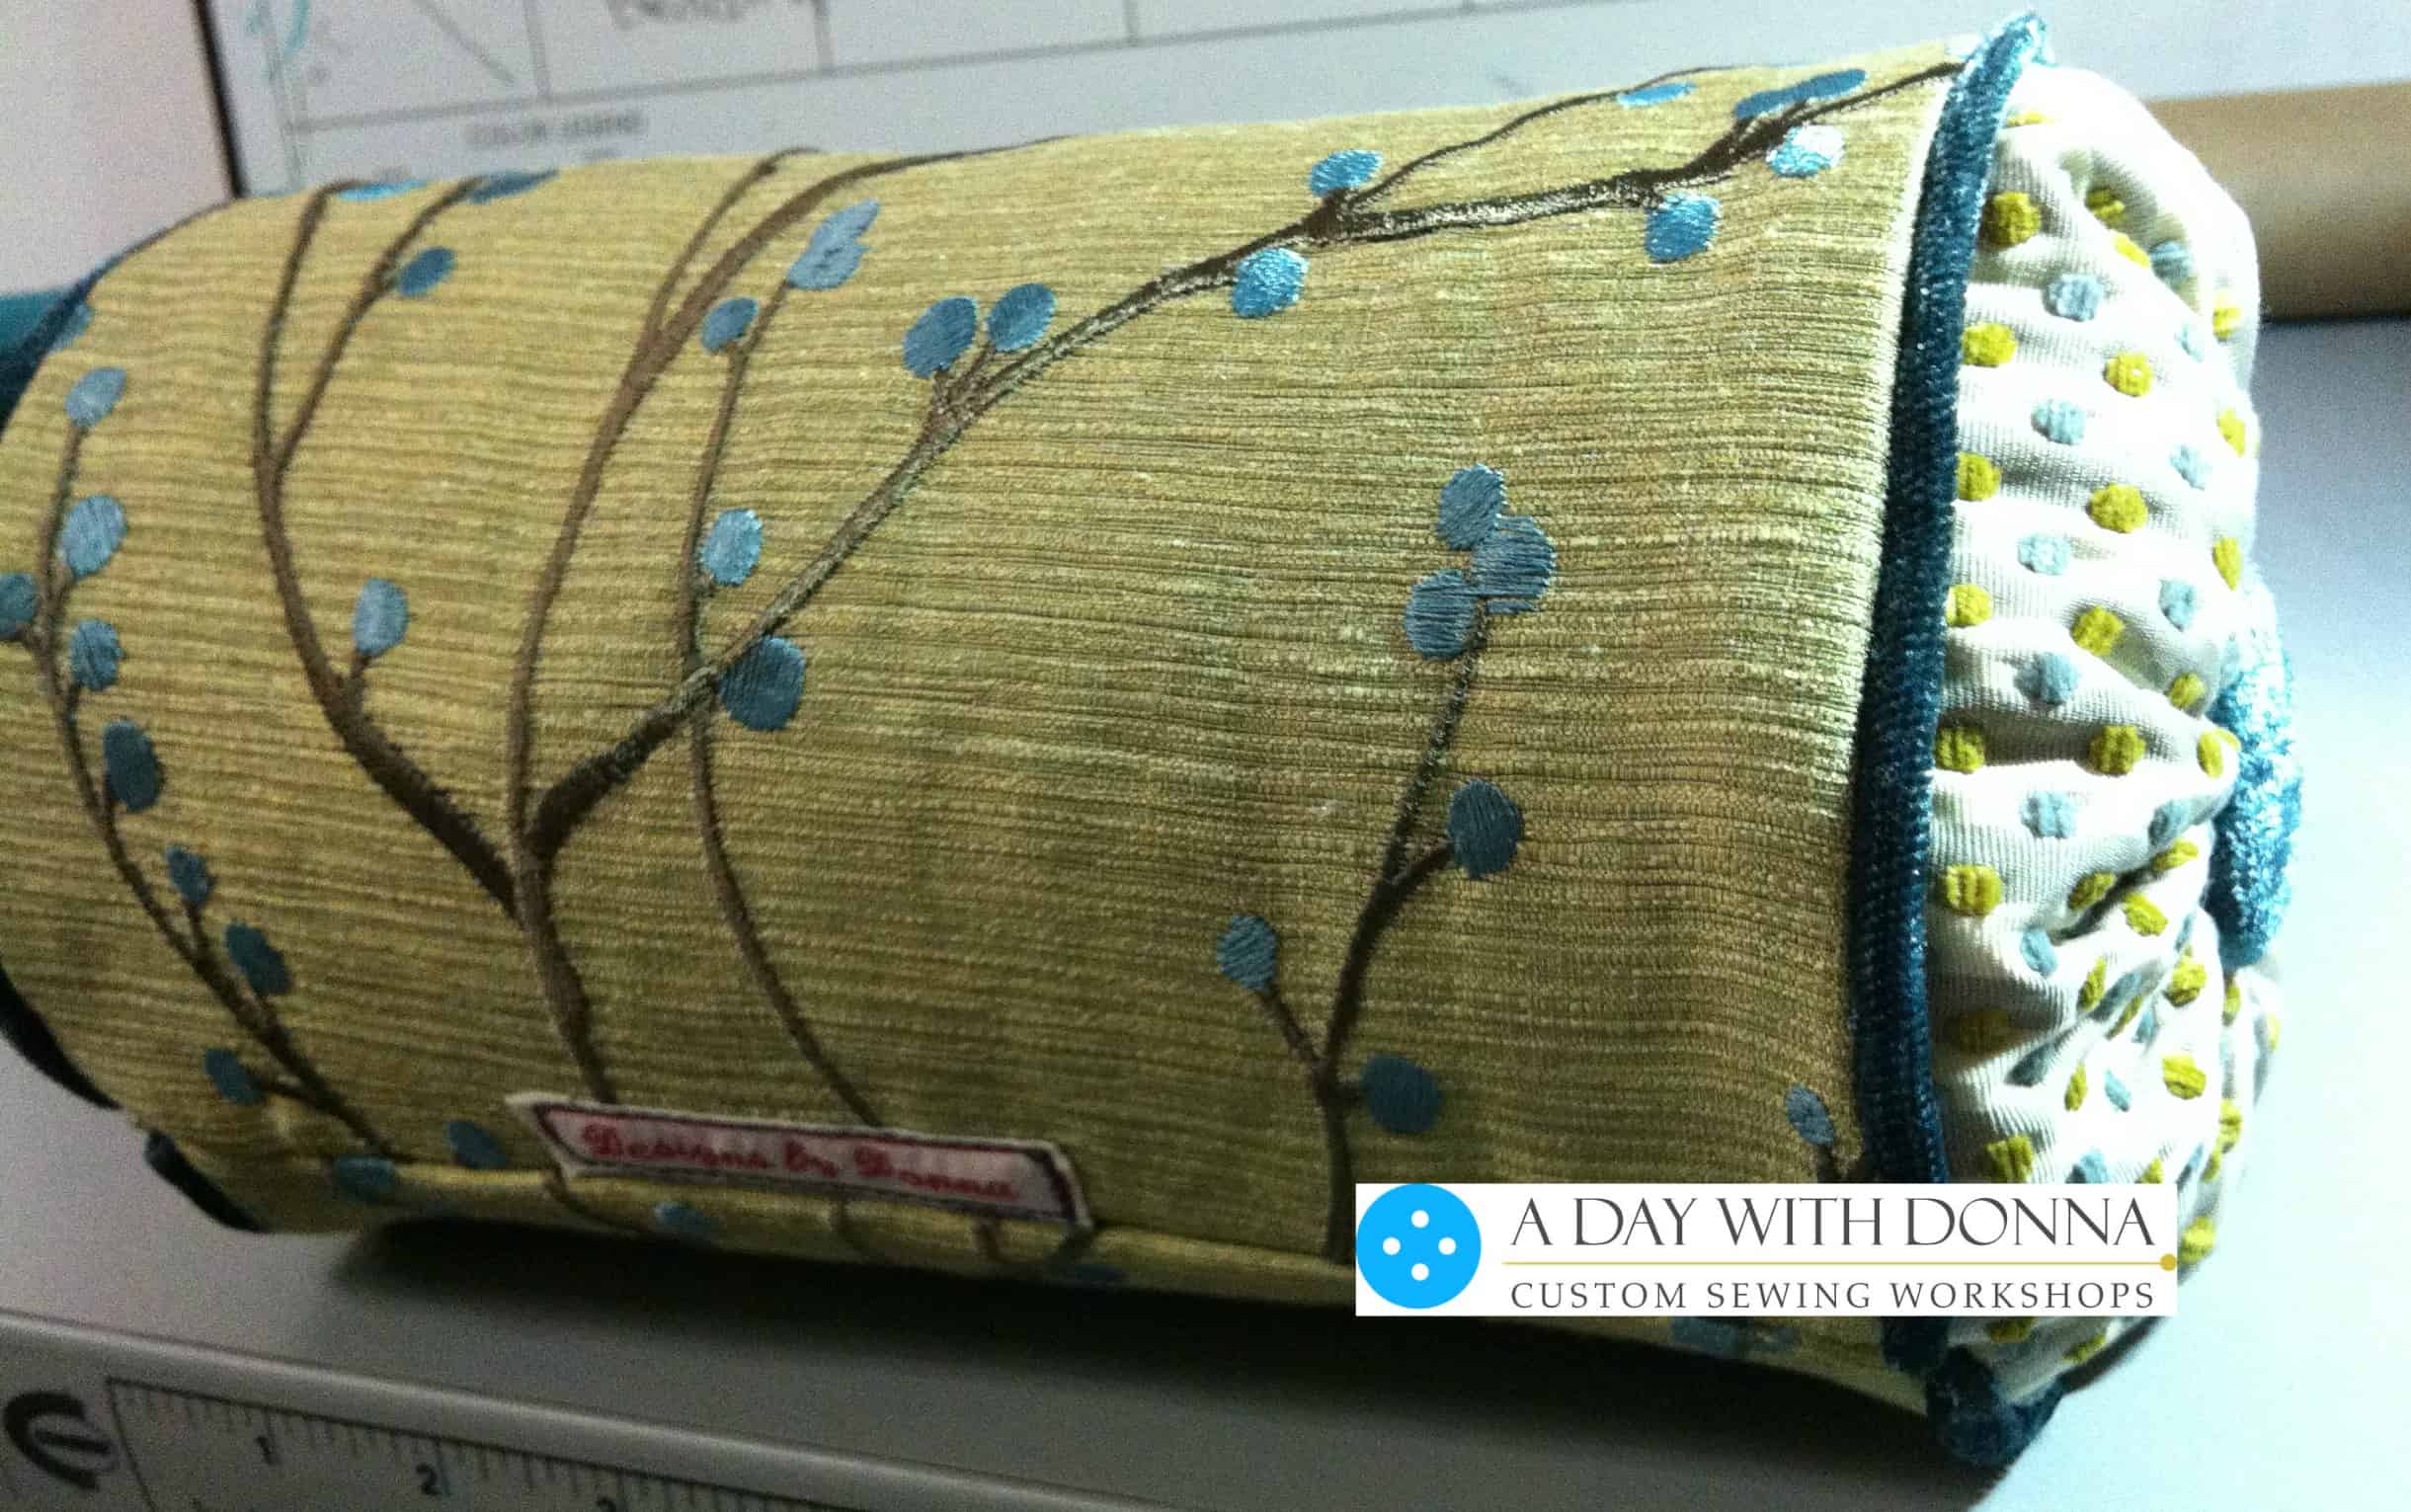
Depending on the fabric you use, the ends will either create a pleated sunburst or more casual gathered sunburst as in the photo below.
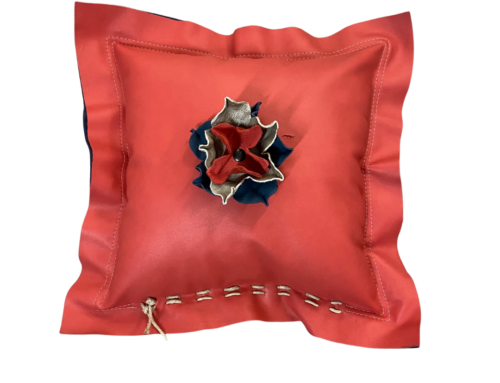
Once you gather the fabric into the center of the bolster pillow ends, you will have a small hole in the center. This hole needs to be covered. Use a fabric covered button as a great embellishment to cover the hole. This also adds texture and interest to the ends of your bolster pillow.
You can stitch the button to the end of the pillow. But if you want a little dimple at the end of the bolster pillow here’s what you need to do. Attach the button to button twine or small, strong cord and pull the twine through the bolster pillow. Tie this on to the button on the other end. This can be a problem if you don’t have a needle long enough to go all the way through the bolster pillow.
With the technique I am sharing you won’t need a long needle, but rather a pool noodle with a hole in the center. You know what a pool noodle is, right? One of those long, brightly colored foam toys the kids (and even some adults) use in the pool in the summer time. Who knew pool noodles had other uses besides really fun pool toys?
Read on and see how quick and easy it is to add the buttons to your bolster pillow.

A fabric covered button in a contrasting color makes a beautiful addition to this sunburst bolster pillow.

Wrap batting around your pool noodle to create the correct diameter for the bolster pillow. You may need to wrap the pool noodle several times depending on how thick your batting is.
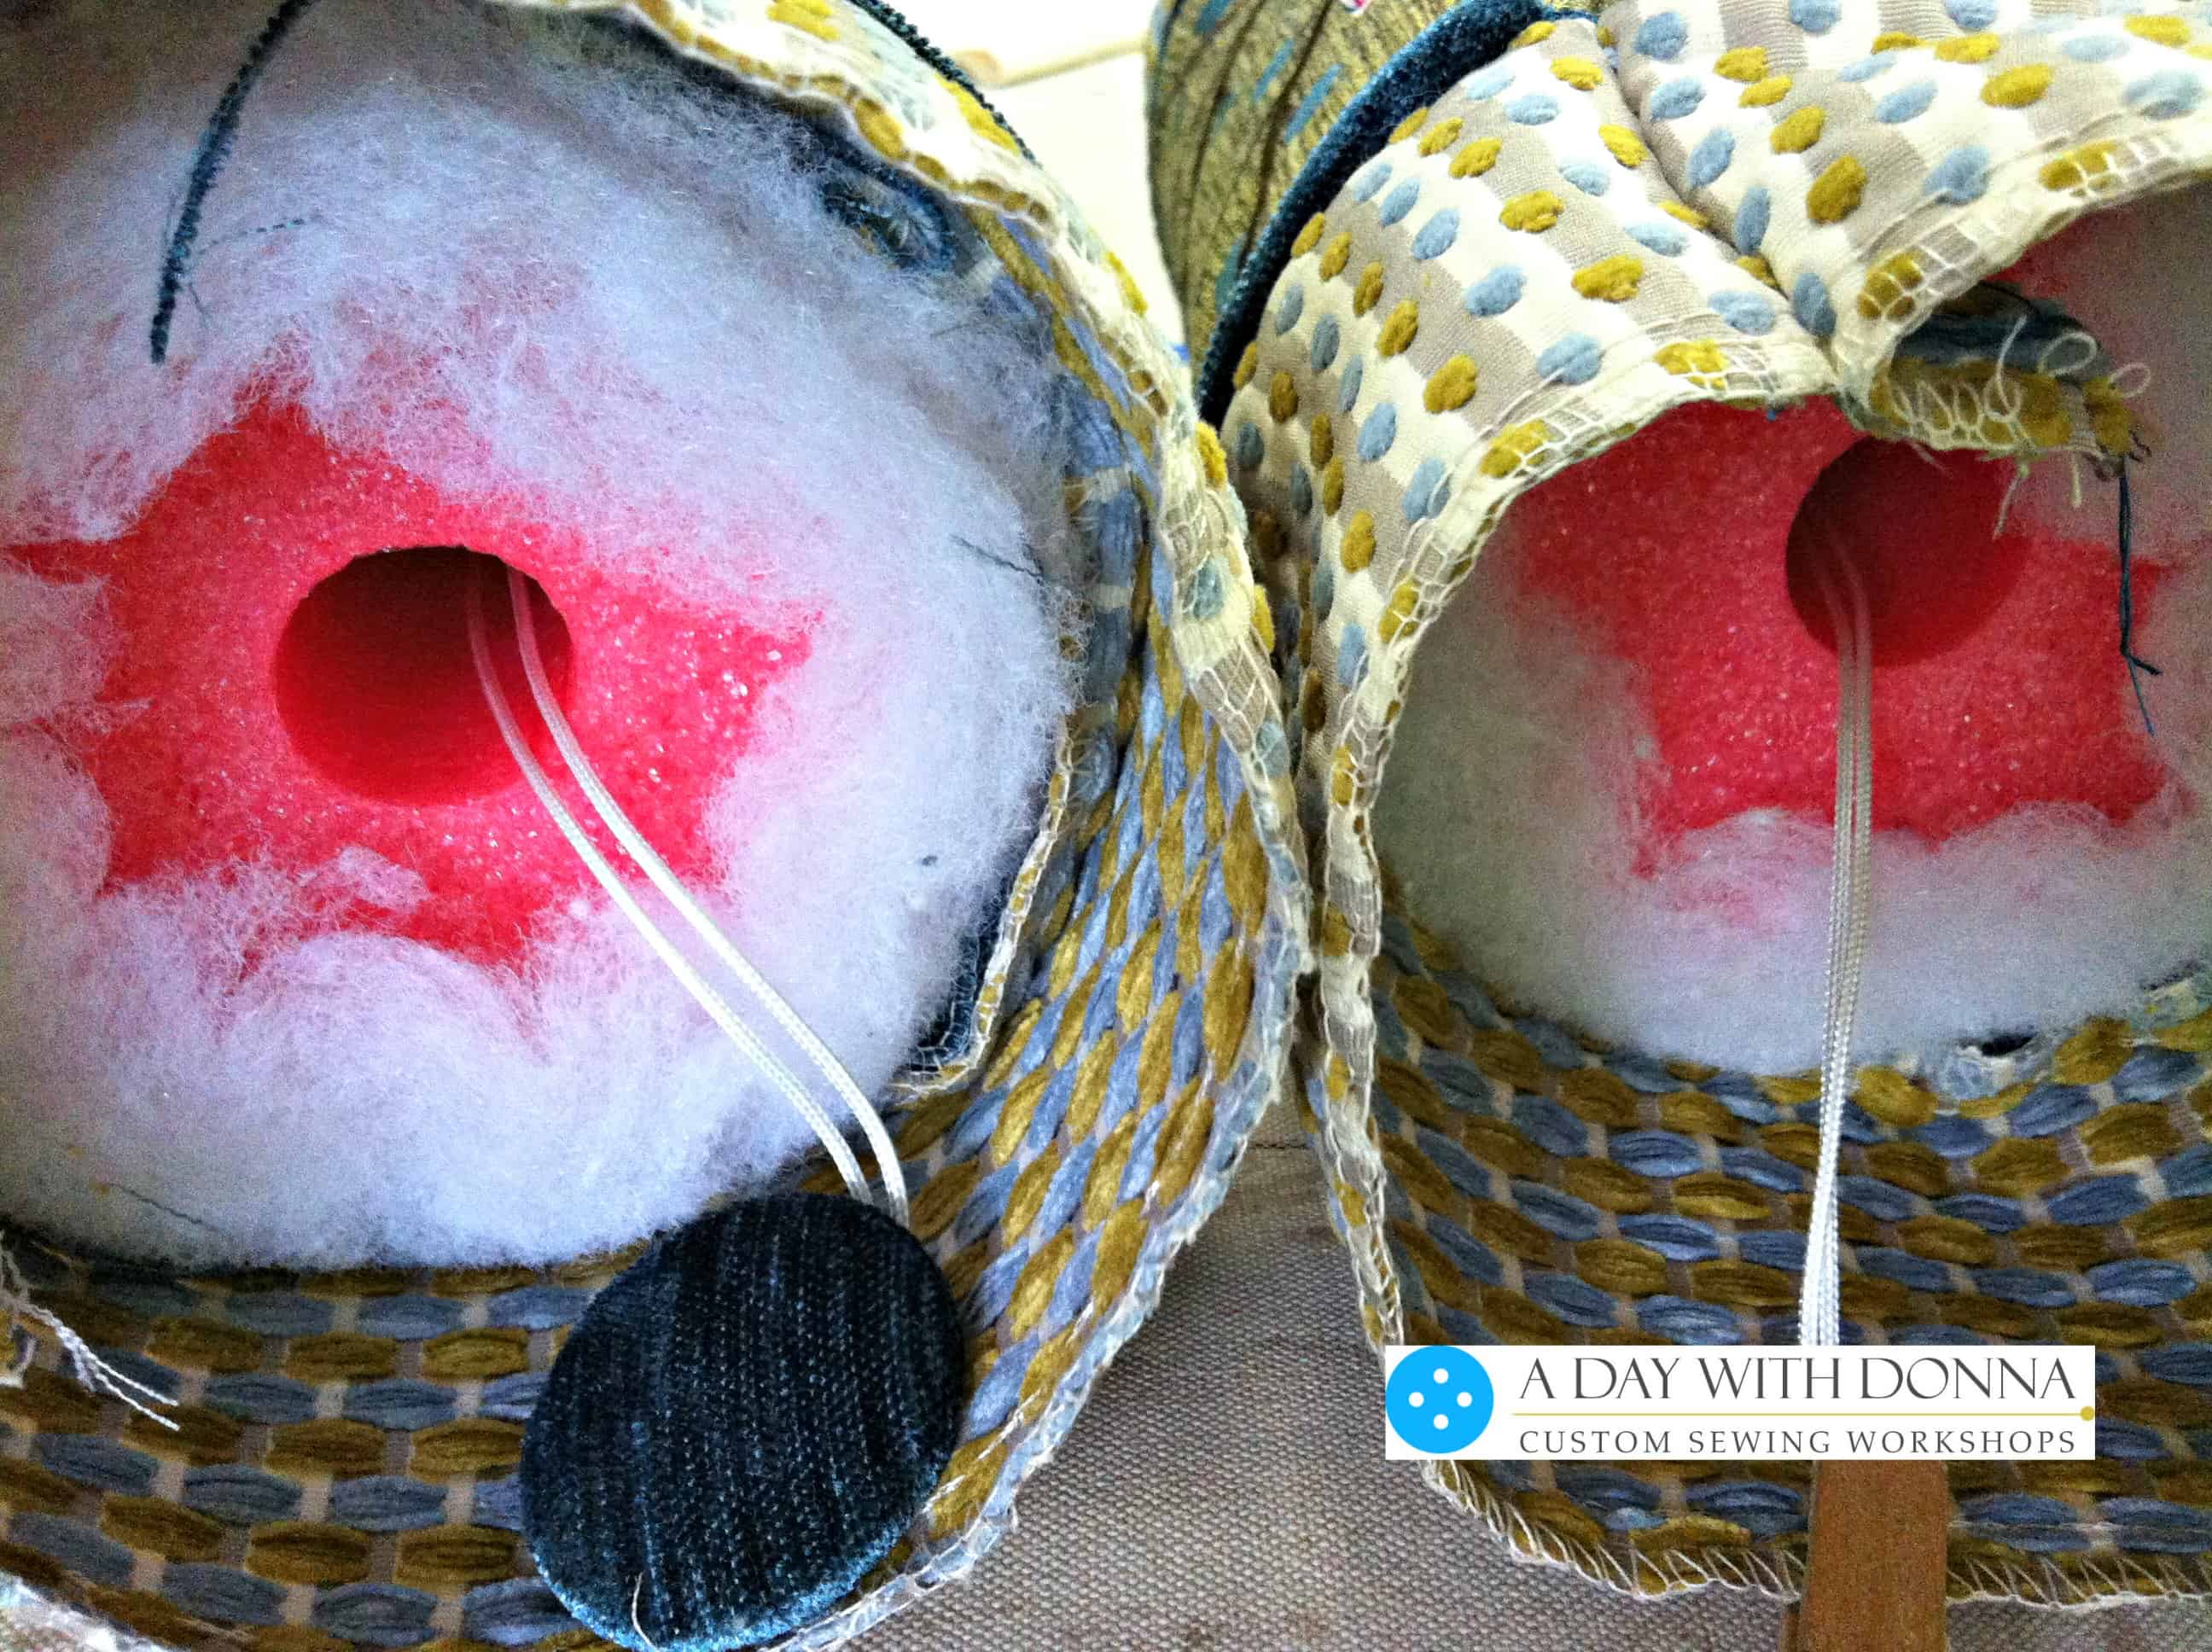
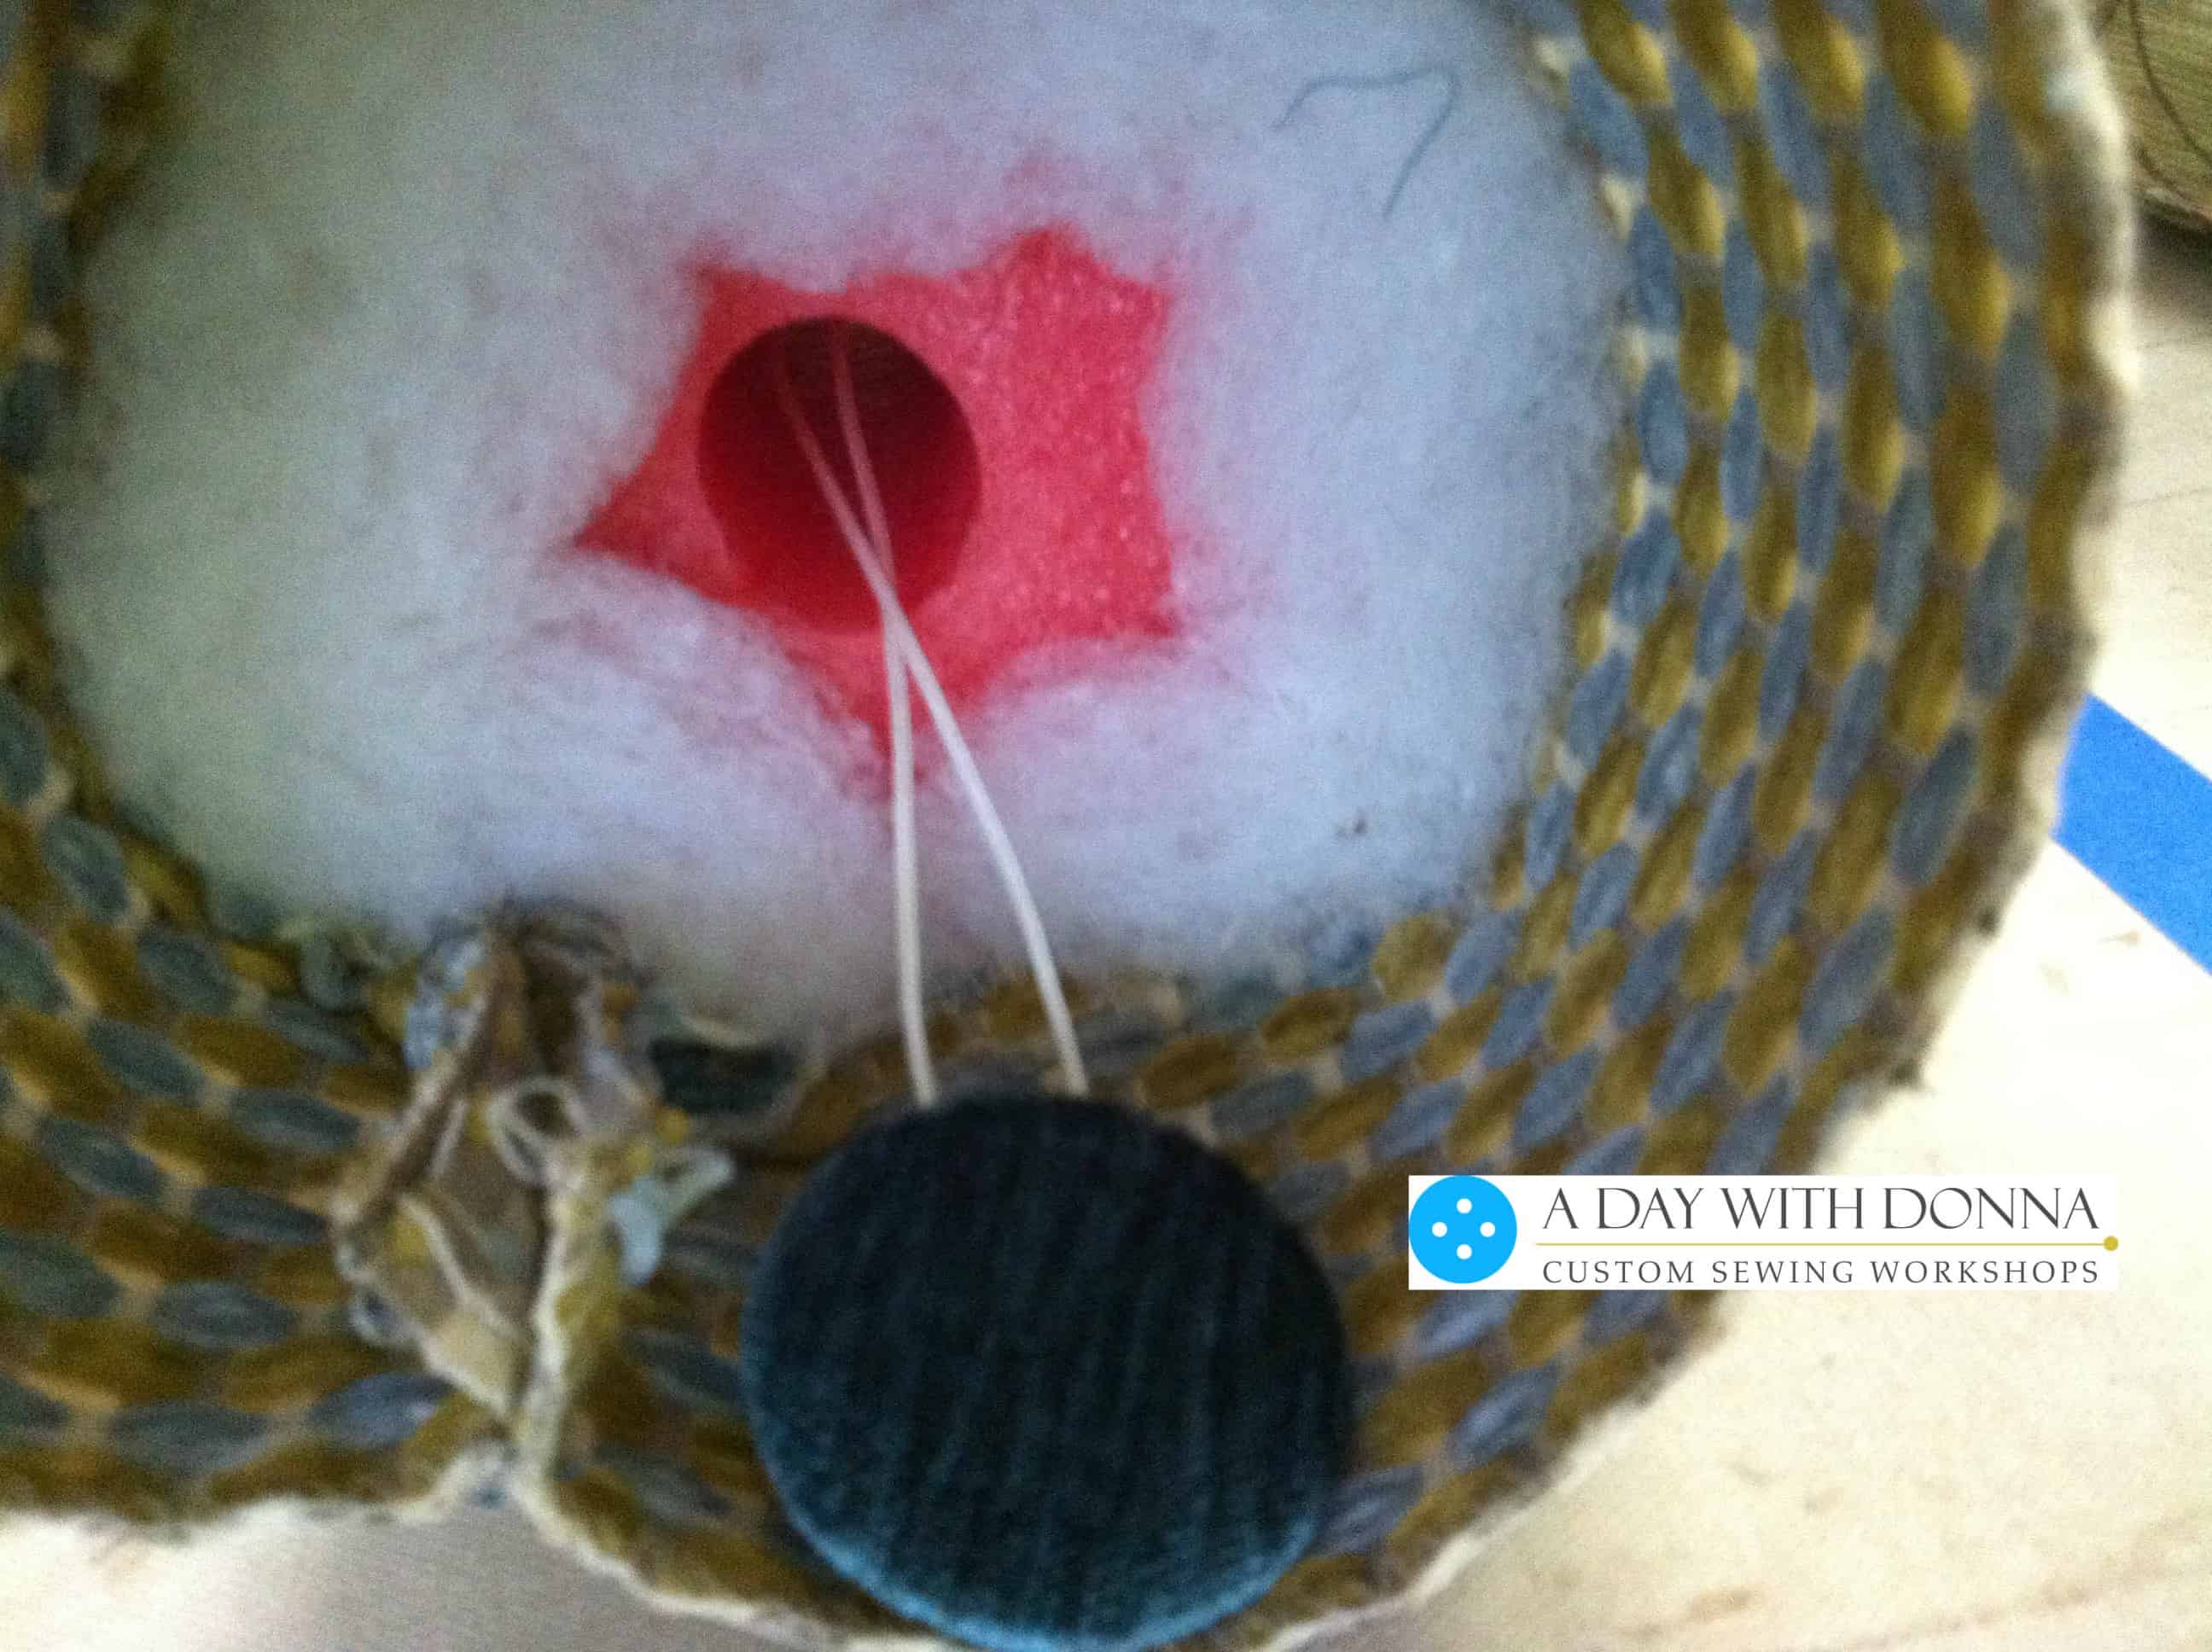
Cover two buttons in a fabric of your choice. Tie a length of button twine to the button shank of one button. Pull the twine through the noodle to the other side.
Make a running stitch with a needle and good quality hand stitching thread, around the perimeter of the pillow end. I like to use Wax Silamide or hand quilting thread. These threads are very strong glide through fabric easily.
After you have gathered both ends of the bolster into the center, add your button to the second end of your bolster. Knot off and clip button twine behind button. Sit back and admire your beautiful bolster pillow!
Here’s an alternative method for making a bolster pillow which is more professionally made than using a pool noodle. You can find out how I made this bolster here.
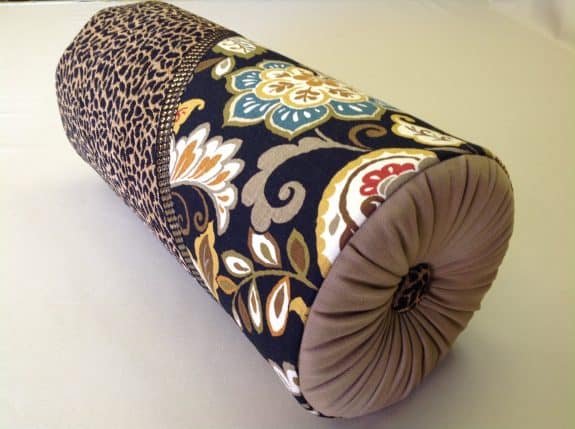
Learn how to make this bolster pillow.
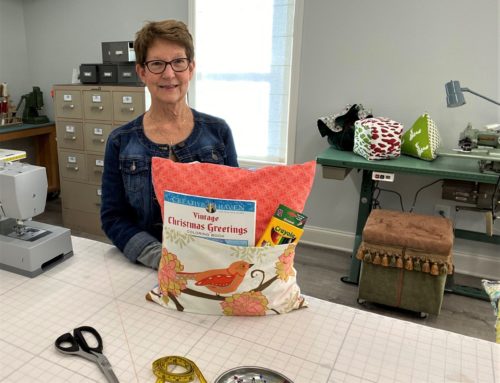
If you want to keep up to date on my class offerings and see what I’m up to at Designs by Donna, go on over to my website and sign up for my newsletter. You can sign up for the newsletter and learn to make this double flange pillow here.
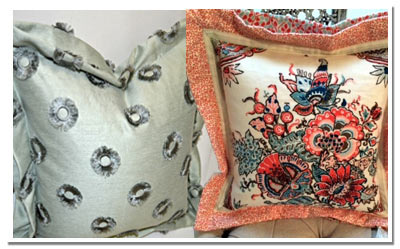
Double Mitered Flange Pillow With Zipper
To see more of my custom home goods or to schedule A Day With Donna for hands on workshops or sewing instruction, visit my website at www.designsbydonnaatlanta.com .
What do you think of this technique? Have you used any other methods for adding buttons to the ends of your bolster pillows you would like to share here? Do you have other uses for pool noodles for custom home goods? Feel free to leave a comment below. I would love to hear from you!