– Copy")
Difficult Fabrics – Working With Pleated Fabrics
Have you ever had to work with difficult fabrics? If you’ve [...]
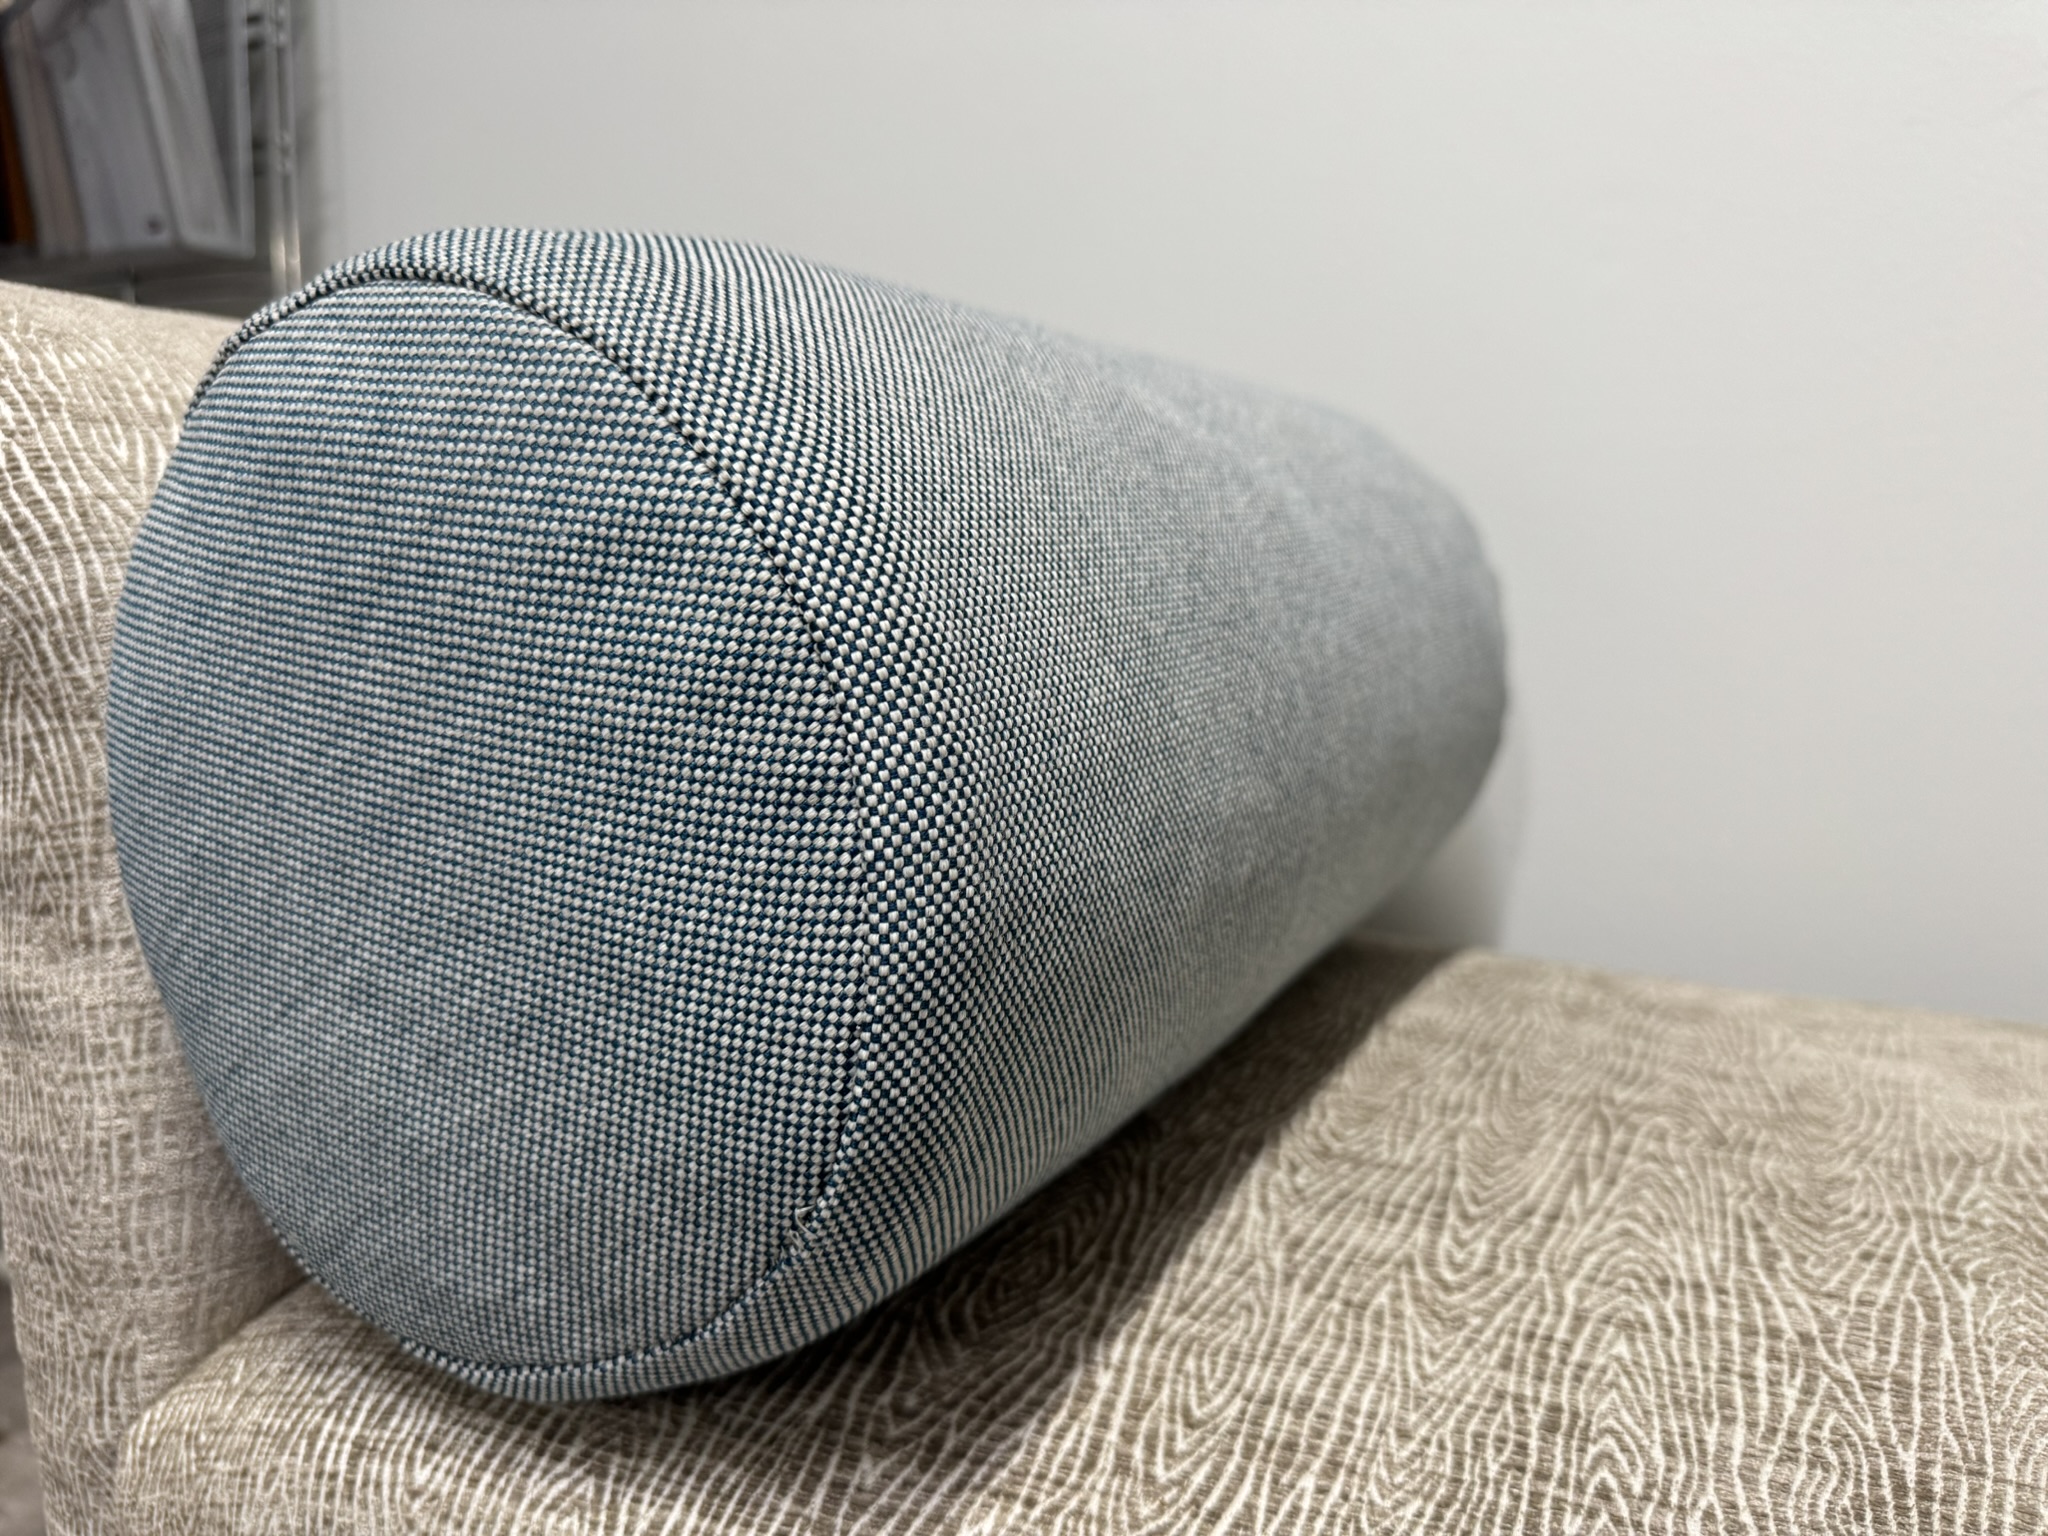
Have you ever had to work with difficult fabrics? If you’ve been sewing for any length of time, you probably have. You know the ones. The slippery fabrics that move around the table by themselves. Or the loosely woven fabrics that begin to fray the moment you begin cutting. Or fabrics with a nap, such as velvet, where special care must be taken while stitching and pressing the fabric to create a beautiful end result.
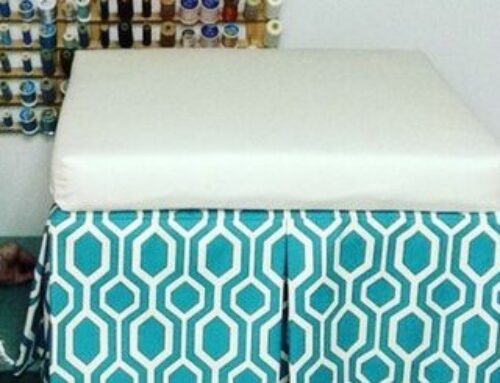
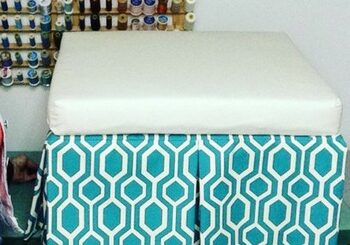
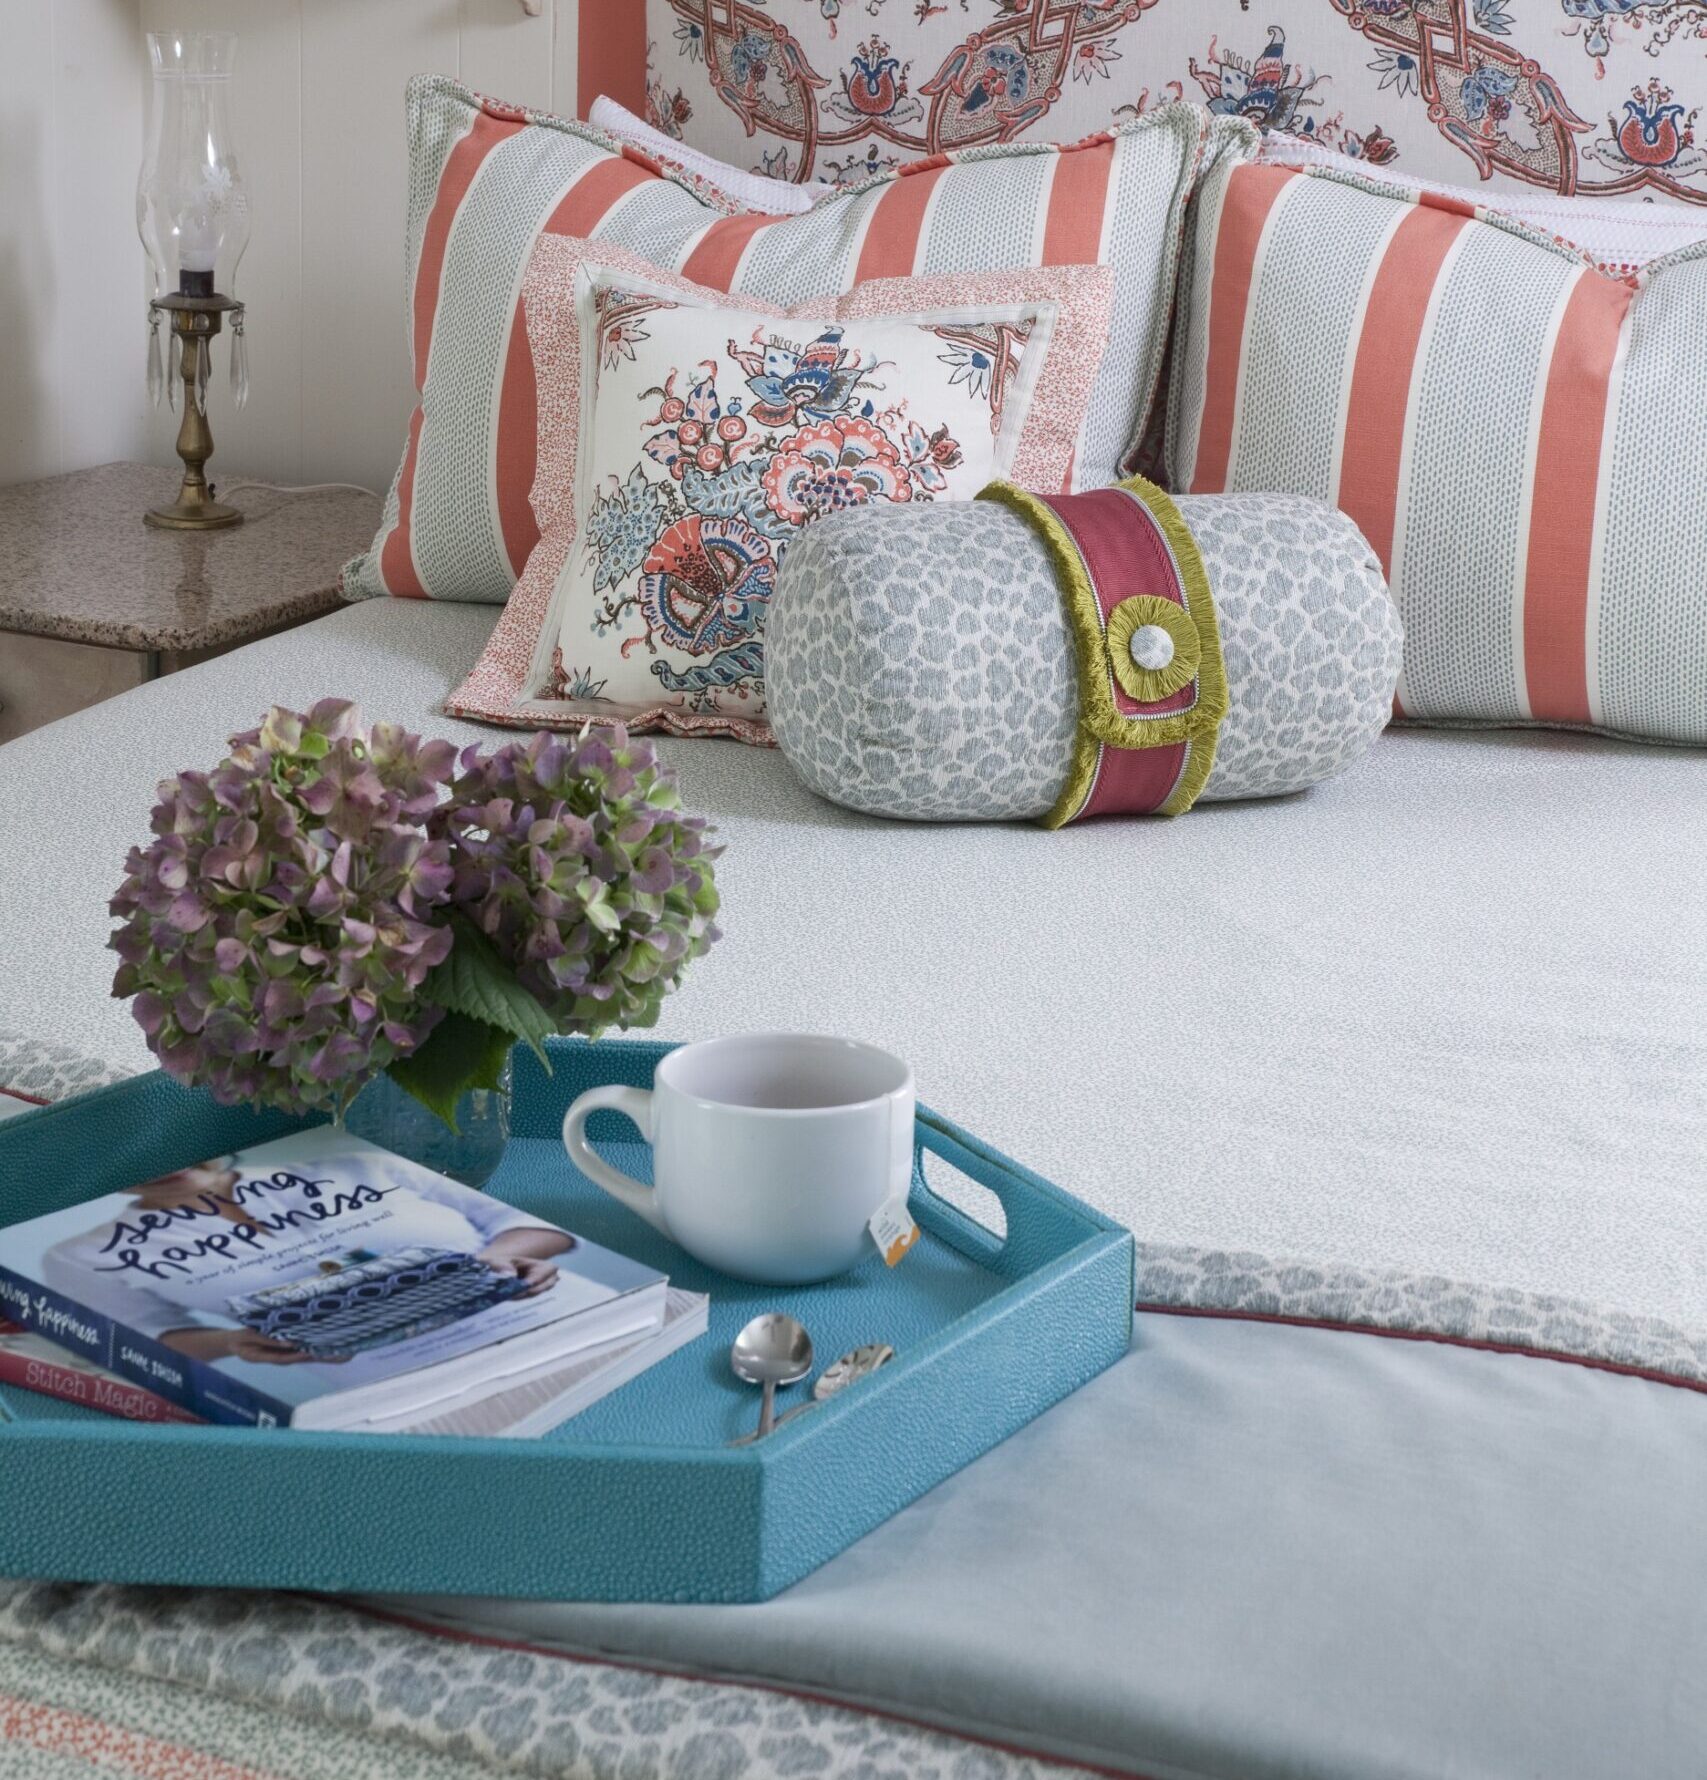
Let’s face it, some fabrics are more difficult to work with than others, aren’t they? We all have our favorite fabrics to work with. Cotton and linen are some my favorite fabrics to work with. Maybe even a cotton/polyester or cotton/linen blend can be fun to work with. Here’s a bed skirt I made with a fabric I loved working with.
You can easily work with difficult fabrics as long as you take the time to understand the fabric and determine the best way to work with it. Make your action plan before jumping in to cut and sew those difficult fabrics.
In this post I’ll show how I worked with a pencil pleated sheer fabric to make a three piece bed skirt. The fabric is a 80%poly/20%linen pleated fabric sheer from Robert Allen named Crinkle Cut.

A rolled hem on this pencil pleat fabric gives this bed skirt very pretty finish at the hemline.
Step one. Determine the best way to cut your difficult fabric. In this pleated fabric it was important to keep the pleats in place as I was cutting the fabric. Blue painters tape helps to hold the pleats while the fabric was cut and in order to keep the pleats one row of tape is left on the fabric until the top of the fabric is sewn.

Blue painters tape helped keep the pleats in place before I cut the fabric.
Step two. Stitch the top edge. Using a paper such as adding machine tape under the fabric will help you to easily stitch the top edge. I just happened to have a supply of old adding machine tape, but any paper will work. After you stitch the top edge, remove the tape.

Using paper such as this adding machine tape under the fabric helps you to easily sew the fabric. Remove the paper after stitching is complete.
Step three. Hem the the bottom edge. For this difficult fabric, I wanted a rolled hem so I used a rolled hem sewing machine foot. Because I’m a visual learner and maybe you are too, I’m adding a link to a video showing how to use the rolled hem foot. https://www.designsbydonna.com/seminars-classes/tips-tools-tuesdays/tips-tools-tuesdays-2/#Working with Matchbook Pleated Fabric

For this fabric using a rolled hem sewing machine foot is the way to hem this fabric.
Step four. By adding a welt cord along the top edge, I’ve added a beautiful finishing touch to the bed skirt, however you may also simply add a band along the top edge. Here I’ve used self welt but you may choose to use a contrast fabric for a different look.

Add welt cord at top edge of the skirt for a finished look.
I want to help you become more confident in working with difficult fabrics. Leave comments and let me know of any fabrics you may need help with. Sign up for my newsletter and stay up to date on what I’m doing at here at Designs by Donna. Here’s a link to my page where you can sign up. https://www.designsbydonna.com/seminars-classes/online-sewing-classes/
Check out my online sewing classes, videos, and PDF’s so you can take your sewing skills to the next level. https://www.designsbydonna.com/seminars-classes/online-sewing-classes/
Happy sewing!
Share this article

Written by : Donna Cash
I’m an award winning custom soft furnishings designer, sewing fabricator, and teacher of exquisite custom fabric items, also known as custom soft furnishings, for homeowners and interior designers. These products range from custom pillows and valances to draperies, slipcovers, and upholstery. Sewing has always been my creative outlet. Designs by Donna has been serving Atlanta and the surrounding areas since 1987. We are located in Flowery Branch, just outside of Atlanta, GA.