Pillow Making 2 ways – dog ears or no dog ears for best results?
Design,Designs by Donna Products,Efficiency,Guest Rooms,How To,Inspiring Custom Homegoods,Pillow Shams,Pillows,Sewing,Uncategorized,Workroom Tips
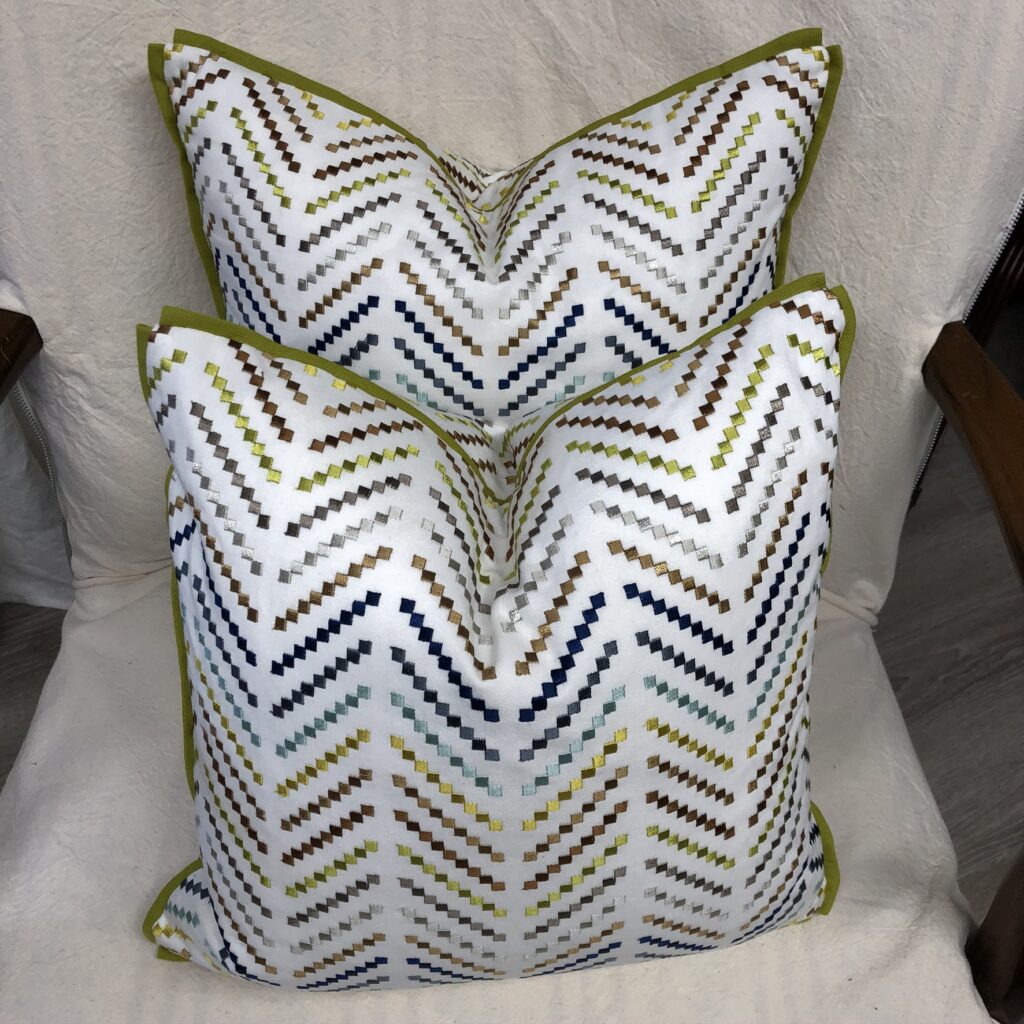
Look at these two pillows. One has tapered corners, the other has the ‘dog ear’ style corners. Just so you know, there is no right or wrong. It is all about personal preference. Which are your favorite types of corners?
Let’s talk about pillow making.
With so much information available online these days, I can see where someone getting into the soft furnishings/workroom business may get confused on fabrication techniques. Today, let’s talk about pillow making. Specifically, how to sew the corners of pillows. Do you taper the corners of the pillows to remove the ‘dog ears’? Or are you like me and like pointy corners on pillows? What is right and what is wrong? Or is there a right and a wrong? Who’s to say? In the end, which way is the best? Read on and let me help answer these questions for you.
Dog Ears on Pillows
If you like pointy corners on pillows, you’ll want to cut your fabric and sew your pillow as a square. Or in the case of a rectangle-shaped pillow, cut as a rectangle, but the corners are sewn square without tapers. And you end up with a pillow with corners like this pillow. You can add whatever trim you like, or use no trim at all, but you will end up with pointy corners.
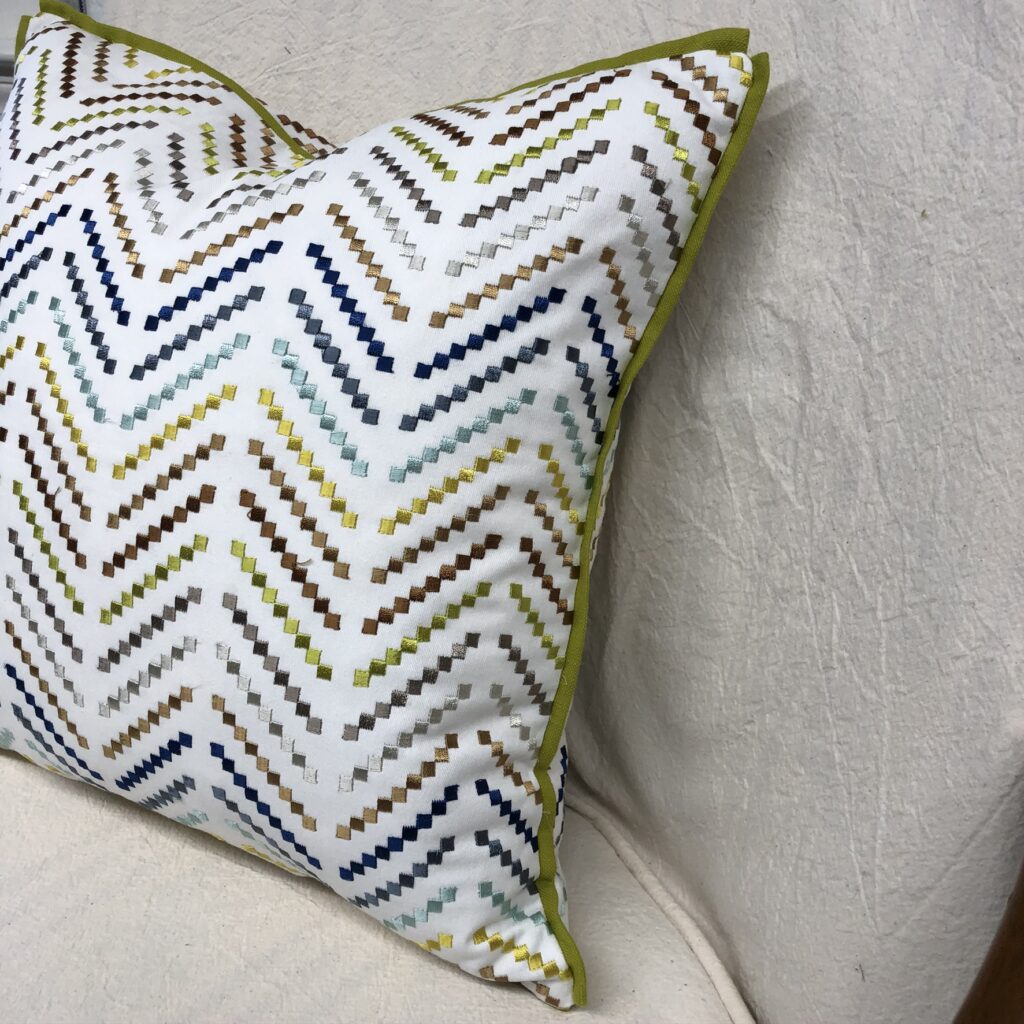
In pillow making, pillows cut and sewn as squares will have pointy corners. See that little crease towards the lower right-hand side of the pillow? This bothers some people, so they like to taper the corners.
Removing Dog Ears From Pillows
If you don’t like pointy corners on pillows, you’ll want to taper the corners of your pillows. You can taper the pillows when you are cutting the fabric or when you are sewing the pillows. It may be easier to do this when you are cutting the fabric so you will cut all the corners the same. Tapering the corners will give the appearance of a square pillow (or rectangle in the case of a rectangular-shaped pillow) without being too pointy. Removing the ‘dog ears’ on knife-edge pillows does not limit the trim that may be used along the edges, so don’t worry about that.
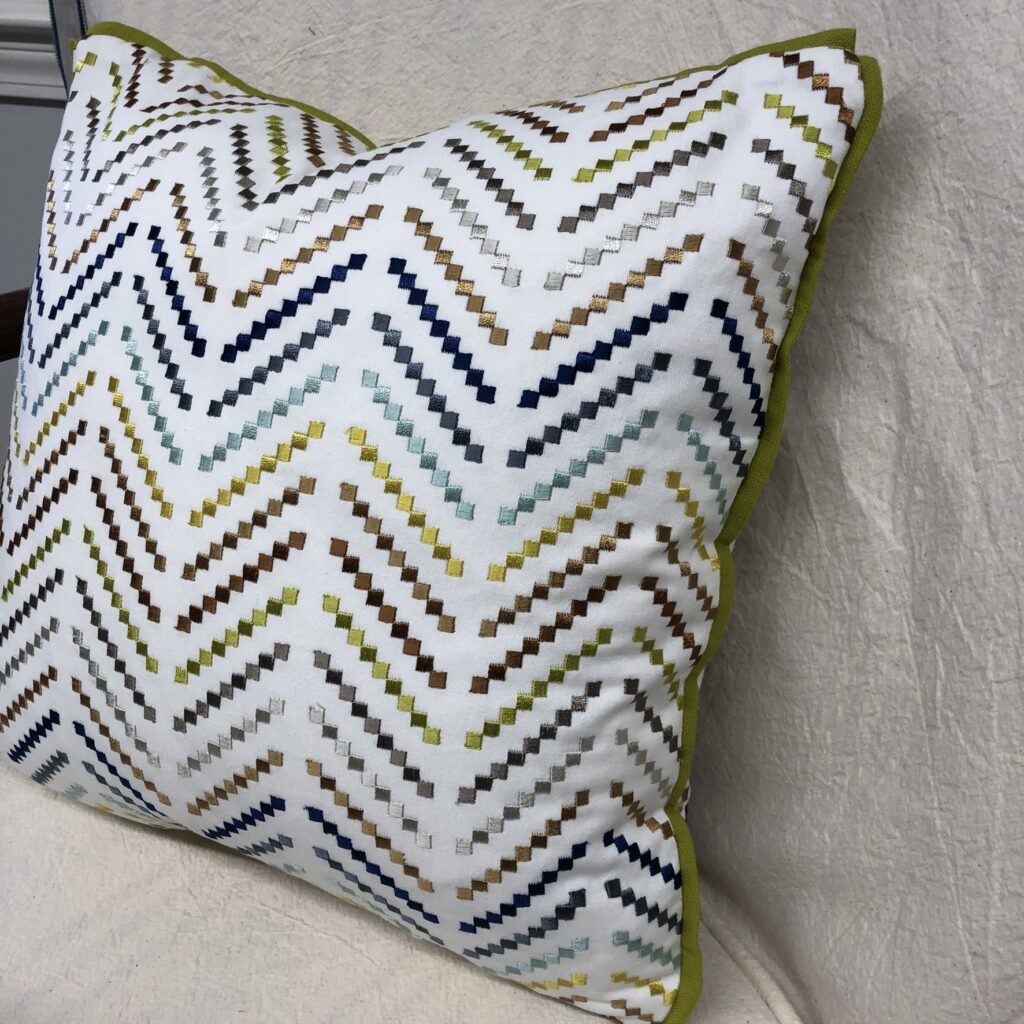
In pillow making, pillows with the ‘dog ears’ removed will create a pillow with tapered corners, but still with an overall square appearance.
Is one way right or wrong?
It is actually a matter of personal preference. In order to show the difference, I decided to take the time to do a study and make different styles to show the students in my hands-on workshops. Here are a few pictures of the results. The first pillow is cut as a square for a ‘pointy corner’ pillow. The middle pillow has the ‘dog ears’ cut off, and in the third pillow, I’ve left the top corners pointy and removed the dog ears on the bottom. Which is your favorite? If you’re working with a designer, communicate before making the pillows to be sure you are making the style they desire for the client.
When making pillows with tapered corners on the bottom, I have a few tips I’d like to share with you to make your pillow-making more productive.
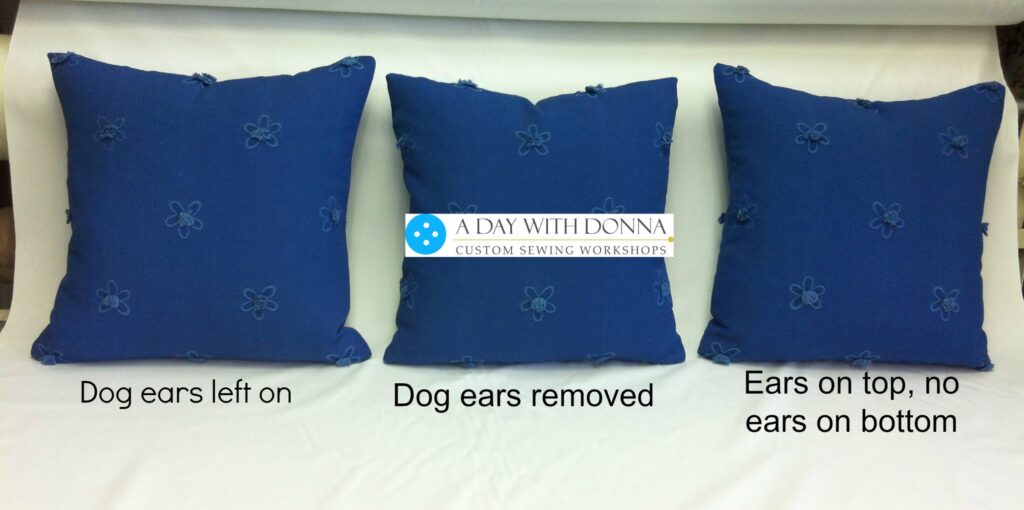
In pillow making, you may want to offer different styles of corners. Consider making three styles of pillows, each with the same fabric, and determine which look you or your client like best.
Some Helpful Tips in Pillow Making
When you are making pillows with the dog ears removed, consider the type of zipper you will be inserting. When inserting a zipper with a flap, will you make the flap go all the way across the pillow bottom? Or will you insert the zipper between the tapered area? Are you adding piping to the edge of your pillow? When I’m making pillows with the dog ears removed and adding piping, I find it better to cut the piping fabric on the bias.
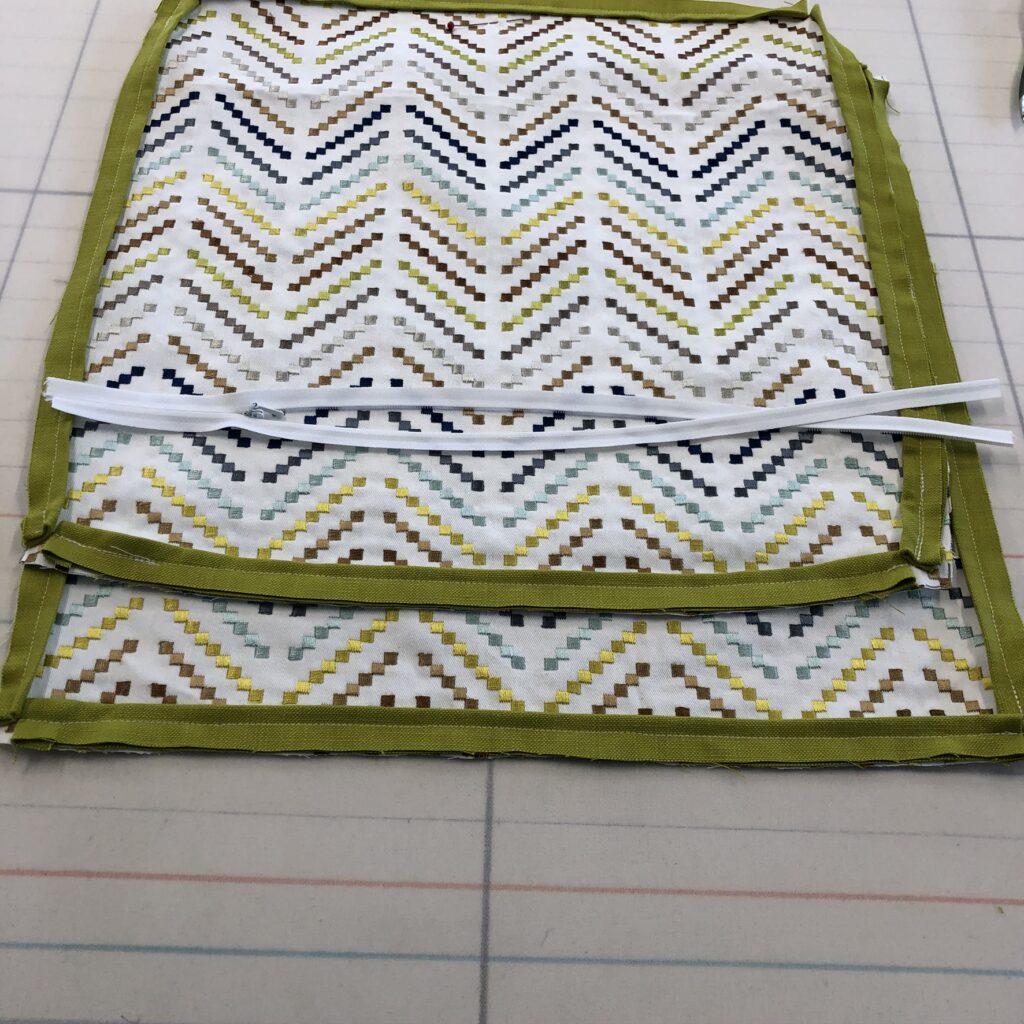
When making pillows with or without dog ears, consider the type and style of zipper closure method you’ll be using. Will one style of zipper work best for you over another?
For more zipper instructions for the pillow, click here.
When Not To Remove Dog Ears From Pillows
I’ve found it important to NOT remove the dog ears a few times. When making pillows with mitered edges or flanges, it’s best to add these to pillows with square edges. The flanges just look better when the corners are not tapered. Do you agree?
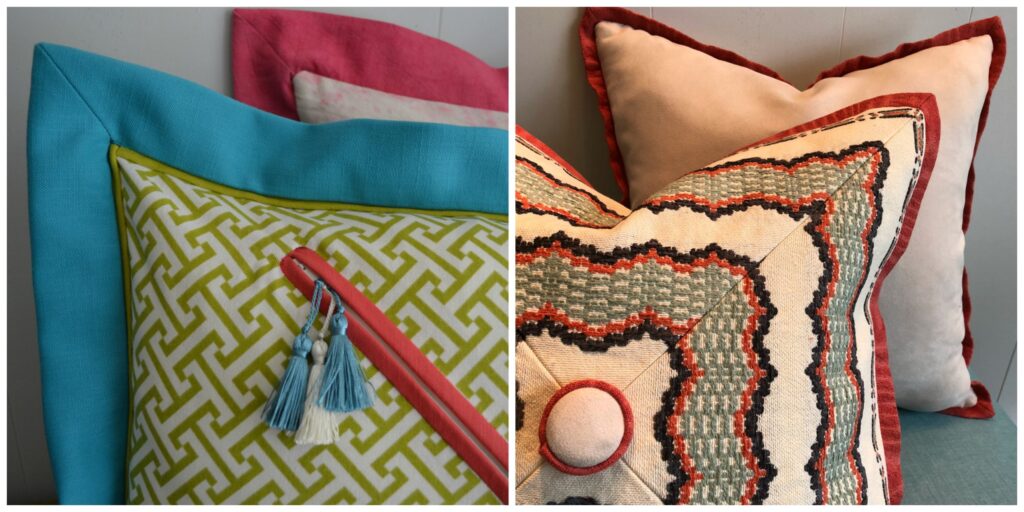
When making pillows with mitered edges, it’s best not to taper the corners. Click here for more instructions on sewing flanges.
A few last words …..
As I’ve shown above, if you’re still in question, why not experiment for yourself? Try different techniques with different fabric weights and styles. See which you like the best. Have examples to show. Maybe you’ll decide you will even make a collection with a combination of the two styles.
Now that you’ve read this blog, have I answered your questions? Have I given you some things to think about? Have I encouraged you to try the different styles out? And have I made you consider that there really isn’t an answer to right or wrong? I think you’ll find that in the end, if the person you’ve made the pillow for loves the pillow, you’ve made the pillow correctly!

In pillow making, you decide how you prefer to make the corners. Which is your favorite?
Still have fabrication questions?
If you haven’t experienced working with an instructor in a hands-on workshop, how will you get the first-hand experience? Have you ever watched an instructor at the machine and seen how they hold and move the fabric to get the desired results? Have you ever worked with an instructor watching you as you sew and as you feed the material through the machine? A good instructor will watch over your shoulder (don’t get nervous) and let you know of ways to change what you’re doing so that you may be more successful at what you’re doing.
Contact me about hands-on workshops, private one-on-one training, or virtual training. I’m here to help you!
I help build your confidence so you can build your business.
If you know someone who would benefit from reading this blog topic, please feel free to share this with them.
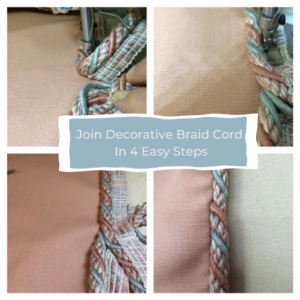
Joining Decorative Braid Cord
Do you struggle when trying to join decorative braid cord? If so, this FREE PDF download is just for you! Fill out the form below to grab your copy now!
Share this article

Meet Donna Cash – Your Trusted Sewing Mentor & Creative Guide
Donna Cash is the founder of Designs by Donna, an award-winning drapery and soft furnishings studio known for its exquisite custom pillows, bedding, drapery, and detailed embellishments. With over 30 years of hands-on experience, Donna brings a rare blend of technical expertise, artistic flair, and warm encouragement to every maker she mentors.
A passionate educator, speaker, and industry leader, Donna has trained hundreds of DIYers and professionals alike, helping them master professional techniques while cultivating a calm, joyful, and balanced approach to their craft. Whether you're just beginning your sewing journey or running a workroom business, Donna is here to help you grow with confidence.
Through her blog, video tutorials, and vibrant online membership community, she shares time-saving strategies, fabric insights, and real-world solutions that make high-quality results feel achievable—and enjoyable. Donna’s mission is simple but powerful: to help you create beautiful things with fabric, one inspired stitch at a time.
Join the community and explore expert instruction at www.designsbydonna.com.
Follow me
Latest articles
December 7, 2025
December 7, 2025
December 7, 2025

