- Plan the pattern placement
- Cut the pillow pieces based on the size of your pillow insert
- Insert an invisible zipper between the welt cord and the boxing
- Assure the corners will all match up
- Add optional topstitching at the corners of the boxing
- Price boxed pillows
-
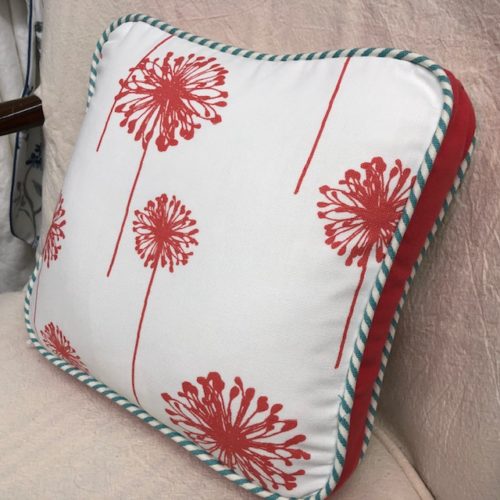
 Boxed pillows may appear to be the same as boxed cushions. The difference is pillows are designed to sit up on one end and cushions are most often sat upon. Making boxed pillows can be tricky. Especially getting those corners matched up perfectly. The boxed cushion in this tutorial has an invisible zipper closure, rounded corners, boxing strips that are cut into four sections and stitched in the corners, with optional topstitching, and piping along the front and back edges of the pillow. Have you ever perfectly planned your pattern placement for your boxed pillow, stitched the welt cord around the front and back pieces, and then added the boxing strip only to realize the corners did not all match up? I have! And I have seen this happen in the classroom as well. That is why I’ve created this educational PDF for you. This PDF tutorial will teach you how to -
 -
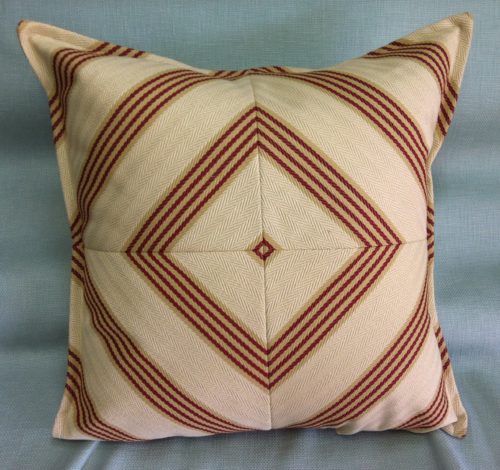
 Pieced Striped Pillows Made Easy - PDF Download. Working with striped fabric to create directional pattern and impact to pillow designs. Have you ever cut out and stitched together a pieced, striped pillow, matched the stripes perfectly, only to lay it back out on the table and the stripes were not going in the direction you expected? I have! And I have seen this happen in the classroom as well. That is why I’ve created this educational PDF for you. This PDF tutorial will help you understand –
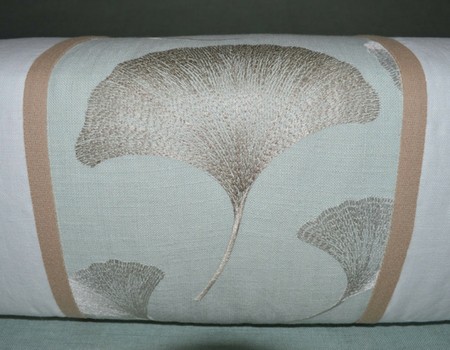
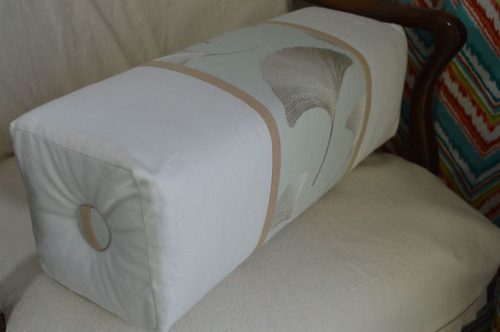
- Pieced, striped pattern designs and how they differ from one another.
- How to cut striped fabrics for a specific design.
- Patterning for the pieced, striped pillow.
- How to work with uneven striped fabric.
- How to deal with the bias cuts and how to stabilize your fabric.
- Stitching methods for the best pattern match.
- Pricing for the pieced striped pillow.
-
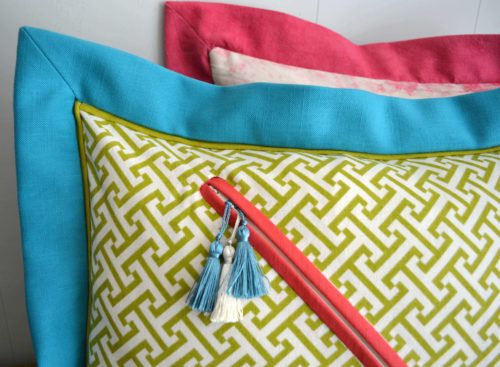
 In the PDF you will learn:
- How to make a reversible contrast mitered flange pillow.
- How to make a bound zipper that is both functional and decorative.
- How to add a unique flat flange detail to a mitered flange pillow.
- Step by step instructions with photos included.
-
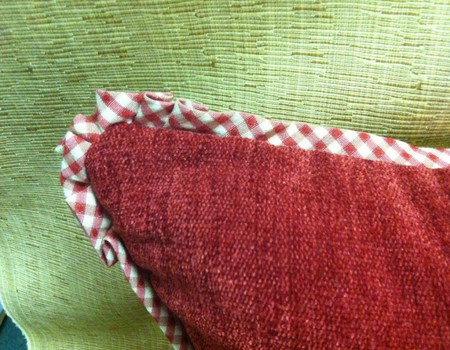
 In the PDF you will learn:
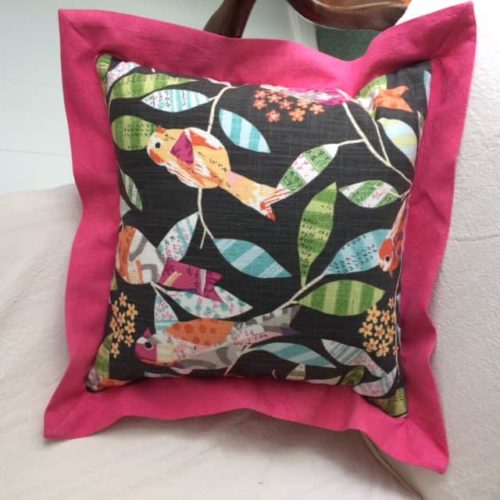
- How to make and apply flat flanges to pillows
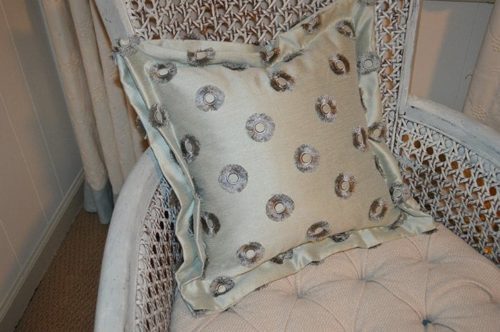
- How to add pleated flanges to the corners of pillows
- How to make a simple stitched flange for pillows
-
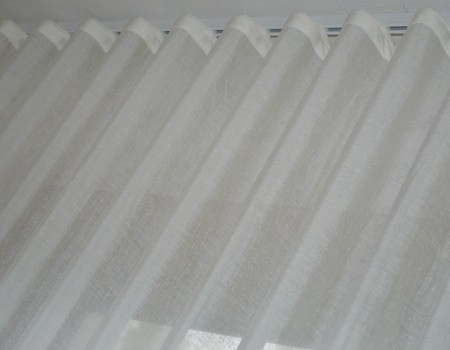 In this PDF you will learn:
- Which options are available so you can confidently order a Ripplefold drapery rod
- Understand what the different fullness percentages really mean
- How to figure out seam placement so your seams will not fall on the front of a fold
- How to fabricate a Ripplefold drapery panel
-
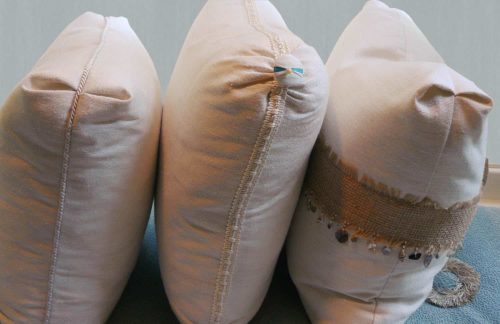
 In this PDF you will learn:
- Three different ways to sew a Turkish corner in a pillow
- Butterfly, Gathered, Folded and Stitched
- Common misconceptions in Turkish corner sizing
- How to determine the size for knife edge inserts for boxed pillow covers
-
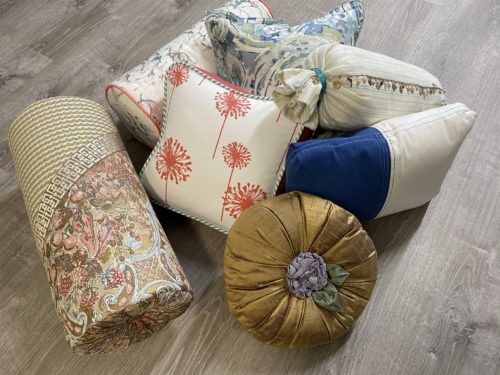
 The fill inside a pillow form may make or break your beautifully fabricated pillow cover. The information covered in this PDF download will help you to confidently select the right pillow form, the fill type for your style of pillow cover, where to purchase, and answers many of the most frequently asked questions regarding pillow forms. My goal while teaching and sharing is to: Help you build your confidence so you can build your skills and business. That is why I have created this educational PDF for you. This PDF tutorial will help you understand –
- Shapes
- Fill Type
- Sizes
- How to Find Your Favorite Insert
- Where to Buy
- Commonly Asked Questions

