Drapery panels at 25 widths each? Have you ever been asked to make a really wide drapery panel? What did you do? Did you turn and run the other way? Or did you accept the drapery panel project and then wonder how you were going to tackle the job?
I was recently hired to make two 25 width panels in our drapery workroom. The finished size for these one-way draw pinch pleat drapery panels was 433″ wide and three times fullness, which calculated to 25 widths of fabric. The good thing about these panels was that the finished length only had to be 36″.
As a small workroom as many of you may have, I thought it would be helpful to photograph some of the processes we used in order to share these with you in case you ever have to tackle a large multi-width project like this.
Once the fabric arrived, I planned out how we would tackle the project. It went like this:
Plan cut lengths for face fabric and lining.
Before you begin cutting your fabric, you always want to determine your fabric cut lengths for your drapery panels. Clamping rulers to either side of the cutting table makes for easy cutting, especially when you have two people cutting. This was planned and prepared prior to my assistant coming in to help me.
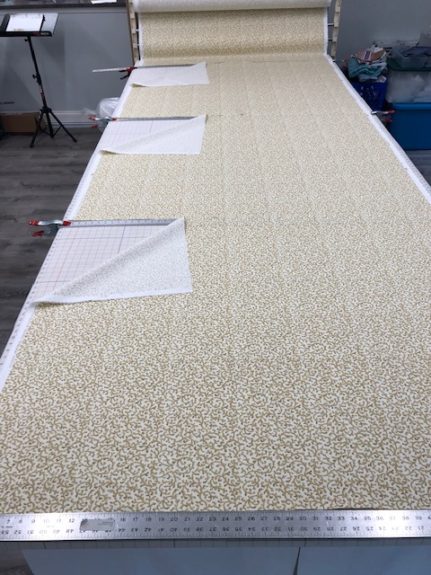
Rulers were clamped to either side of the table as a cutting guide for the drapery panels.
Cut face fabric. Cut lining.
With the finished length of these panels being only 36″ long, we were able to get multiple cuts along one table length. Here is a YouTube video showing the ruler clamping method for quick and efficient fabric cutting. It even shows you how you can use this if you are in the workroom and working by yourself. However, if you are able to have an assistant on the opposite side of the table, you will save a lot of time in the cutting process. We were able to cut 100 widths of fabric for the two 25 width drapery panels in about 2 1/2 hours.
Sew widths together.
As I mentioned, I had an assistant for this project. We each took a portion. I started sewing the lining together and she started on the face fabric. We moved the sewing machines close to the worktables to hold the majority of the fabric as we stitched. If you have your work tables and sewing machines on wheels or floor sliders, you will have more flexibility in the workroom.
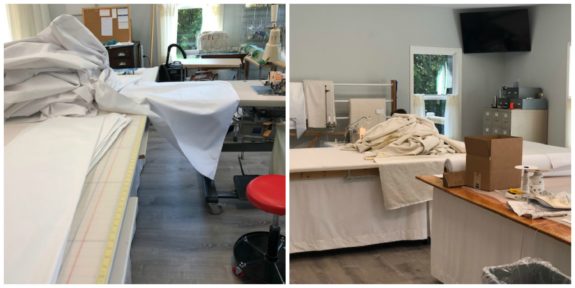
Moving the sewing machines closer to the work tables made sewing the 25 widths together easier. Some of the machines are on wheels, while others are on floor sliders.
Hem face fabric. Hem lining.
After sewing the widths together, it’s time to press and hem the face fabric and the lining. Time to move another machine into place. I worked on the lining hems and my assistant worked on the face fabric hems. I pressed them hem along one long edge of the table. The sewing machine was as the other end of the table and as I had several widths of hem pressed, then I stitched. So it went like this, press, stitch, press, stitch a little more, press and stitch until all 25 widths were stitched. For both of the 25 width drapery panels. Patience was key!
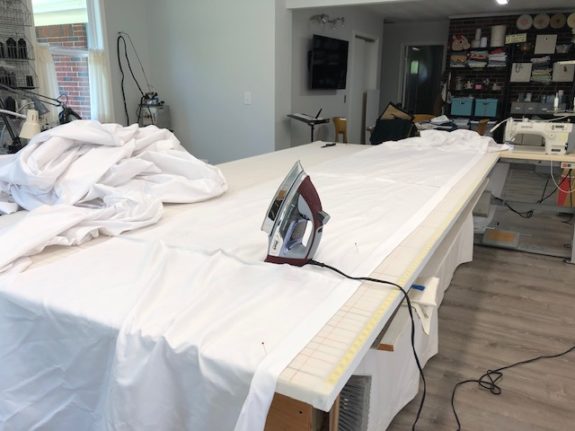
The hems were pressed along one long edge of the work table and stitched at the sewing machine set up at the opposite end of the table. Patience was key!
Table the panels and add buckram.
We used a low bulk method for tabling the panels. This allowed us to sew the face fabric, lining, and buckram together in one step. Have you ever used this method before?
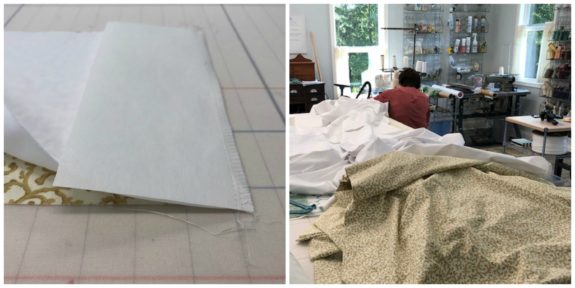
Using a low bulk header in the top of the panels was quick and efficient for these drapery panels.
Determine pleats and spaces and pin the drapery panels.
It’s all about the numbers when calculating pleats and spaces. In order to make marking and pinning the pleats and spaces quick and efficient, we each had a piece of buckram which had several pleats and spaces drawn out. We were able to use this to quickly and efficiently mark the pleats and spaces. Well, as quickly as you can when pinning 25 widths of fabric!
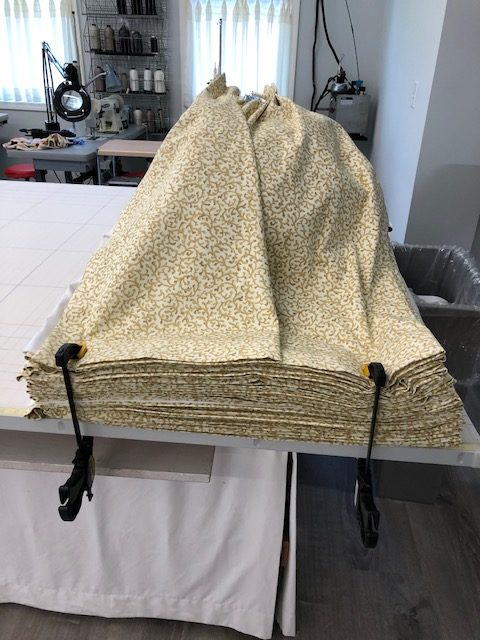
Folding the panels prior to pinning the pleats and spaces created a little order to the pile of 25 widths of drapery panels.
Sew and tack pleats.
Folding the buckram in half at the pleat space was used to mark the bed of the sewing machine for ease in sewing the pleats in the drapery panels. You can see that 25 widths of fabric makes a big pile of fabric!

Folding the buckram in half at one of the pleats allowed me to place blue tape at the pleat stitch placement for the drapery panels.
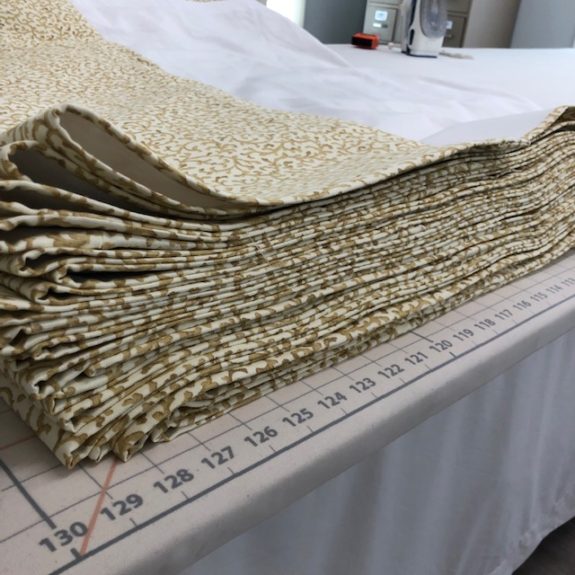
Fold panels.
With 25 widths in the drapery panels and 123 pleats, fan folding was not an option. These panels were shipped so flat folding was a better way to control the drapery panels and create as few wrinkles as possible.

The panels were flat folded for the fewest amount of wrinkles during the shipping process.