
How to sew a interlock stitch in drapery panels
Custom Curtains,Designs by Donna Products,DIY,Efficiency,How To,Sewing,Step-by-Step,Tips and Tools Tuesdays,Window Treatments,Workroom Tips
When making multi width drapery panels, adding an interlock stitch [...]
When making multi width drapery panels, adding an interlock stitch at the seams will help keep the seams lined up as they hang. Without this stitch the fabric layers may shift making the draperies look untidy or messy.
Sewing the interlock stitch is quick and easy when using your thumb to pinky measurement.
Here are a few quick and easy steps to add an interlock stitch to your drapery panels.
- Work from the base or hem end of the panel to the top.
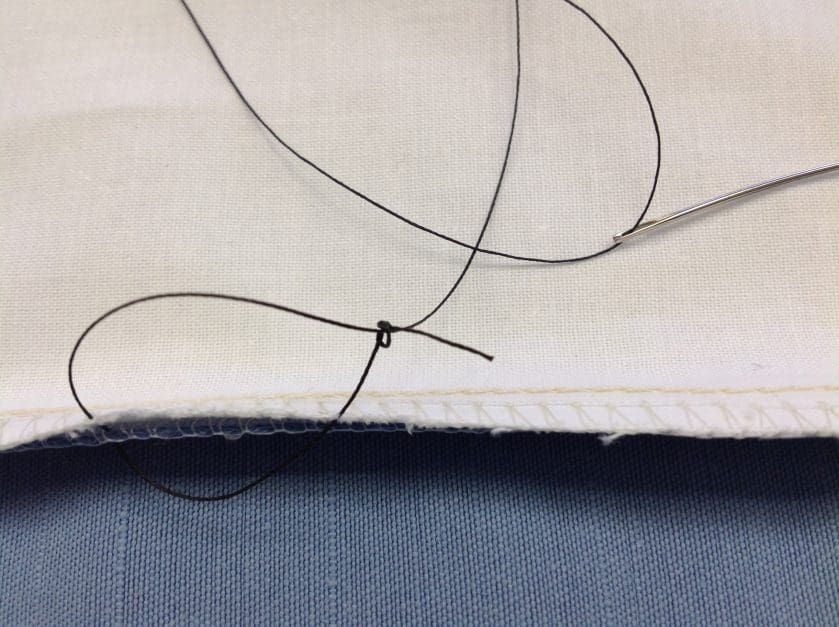
Thread needle through the loop in the knot as you begin the interlock stitch.
- Place the seams of your face fabric and interlining and or lining together.
- Pick up only a few threads of each seam as you sew your interlock stitch.
- Make your stitches about six inches long, or the length of your thumb to pinky.
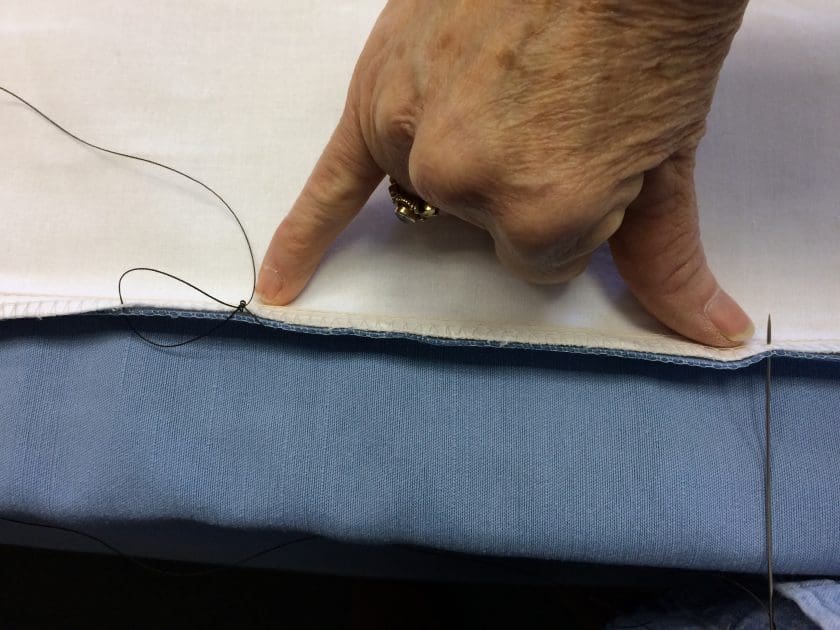
Using the distance between your thumb and pinky will allow you to have an equal distance between your interlock stitches without having to measure.
- Continue this stitch pattern from the base of your panel to the top.
- Tie off at the end and bury the thread in the stitches.

The end of the thread is buried under the serged stitches.
Watch this video to see how I sew the interlock stitch at Designs by Donna.
Are you using the interlock stitch? I’d love to hear from you. Please comment in the section below.
Share this article

Meet Donna Cash – Your Trusted Sewing Mentor & Creative Guide
Donna Cash is the founder of Designs by Donna, an award-winning drapery and soft furnishings studio known for its exquisite custom pillows, bedding, drapery, and detailed embellishments. With over 30 years of hands-on experience, Donna brings a rare blend of technical expertise, artistic flair, and warm encouragement to every maker she mentors.
A passionate educator, speaker, and industry leader, Donna has trained hundreds of DIYers and professionals alike, helping them master professional techniques while cultivating a calm, joyful, and balanced approach to their craft. Whether you're just beginning your sewing journey or running a workroom business, Donna is here to help you grow with confidence.
Through her blog, video tutorials, and vibrant online membership community, she shares time-saving strategies, fabric insights, and real-world solutions that make high-quality results feel achievable—and enjoyable. Donna’s mission is simple but powerful: to help you create beautiful things with fabric, one inspired stitch at a time.
Join the community and explore expert instruction at www.designsbydonna.com.
Related Posts
Follow me
Latest articles
May 27, 2026

May 27, 2026