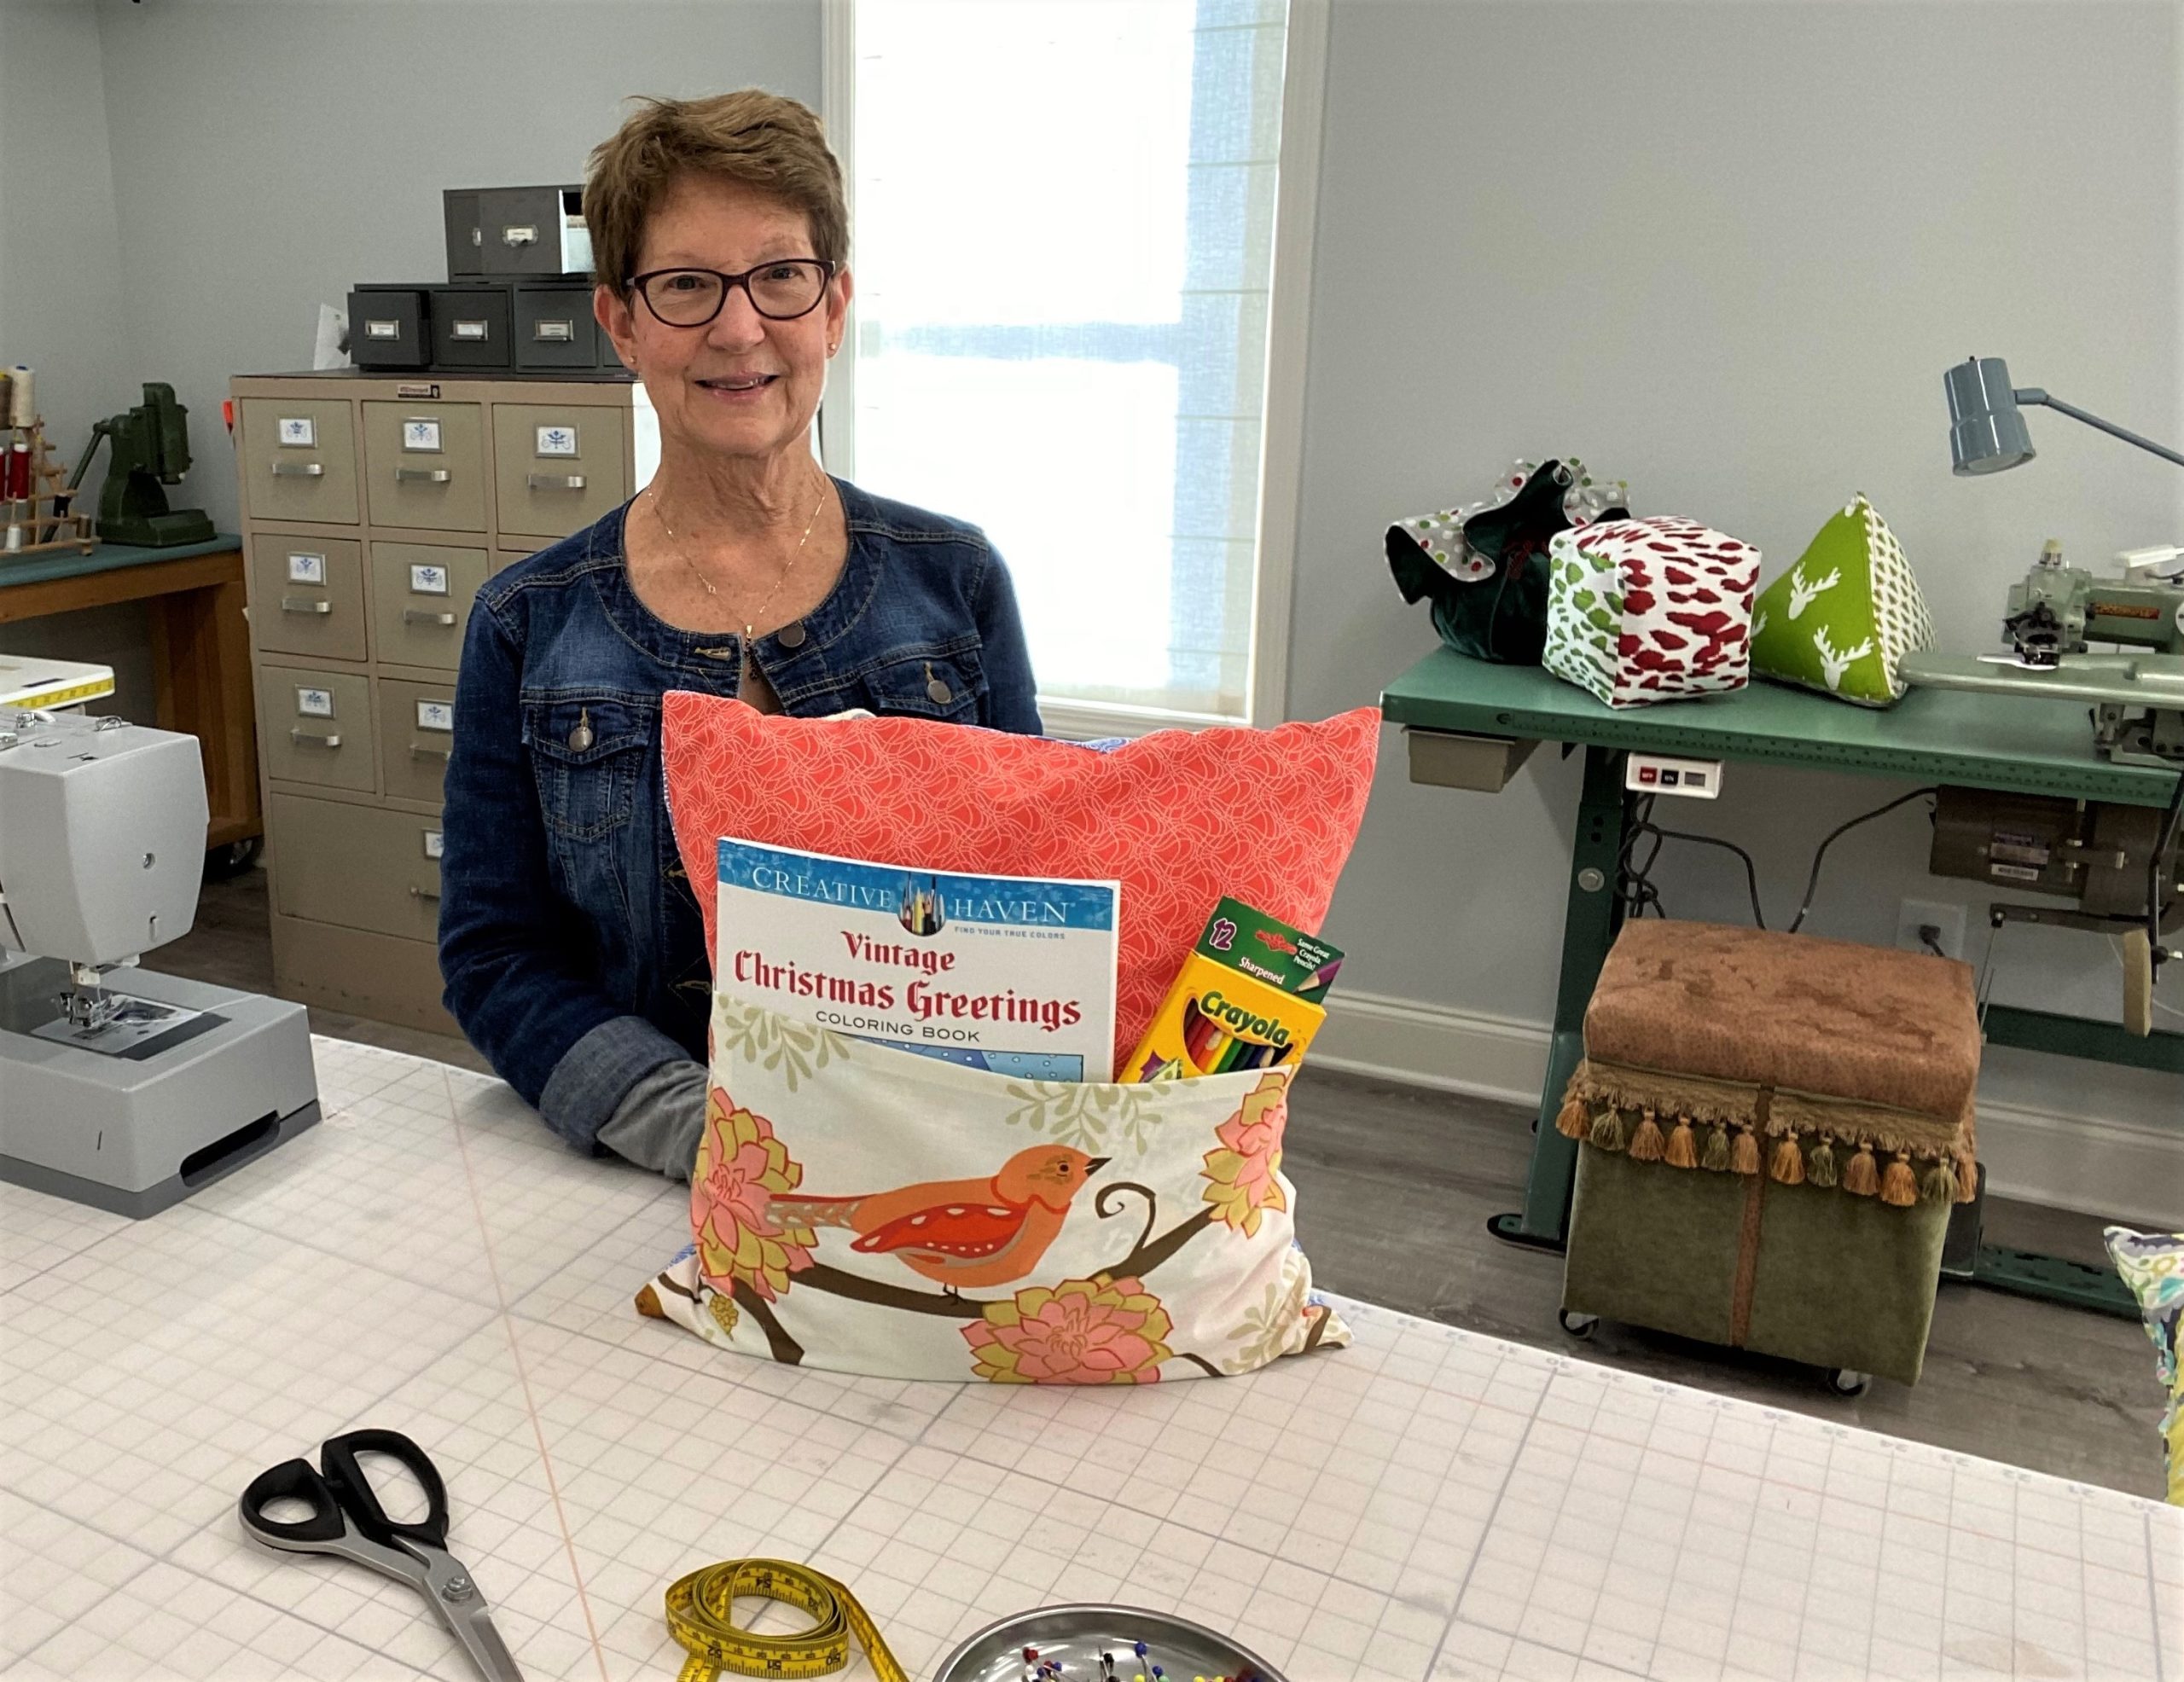
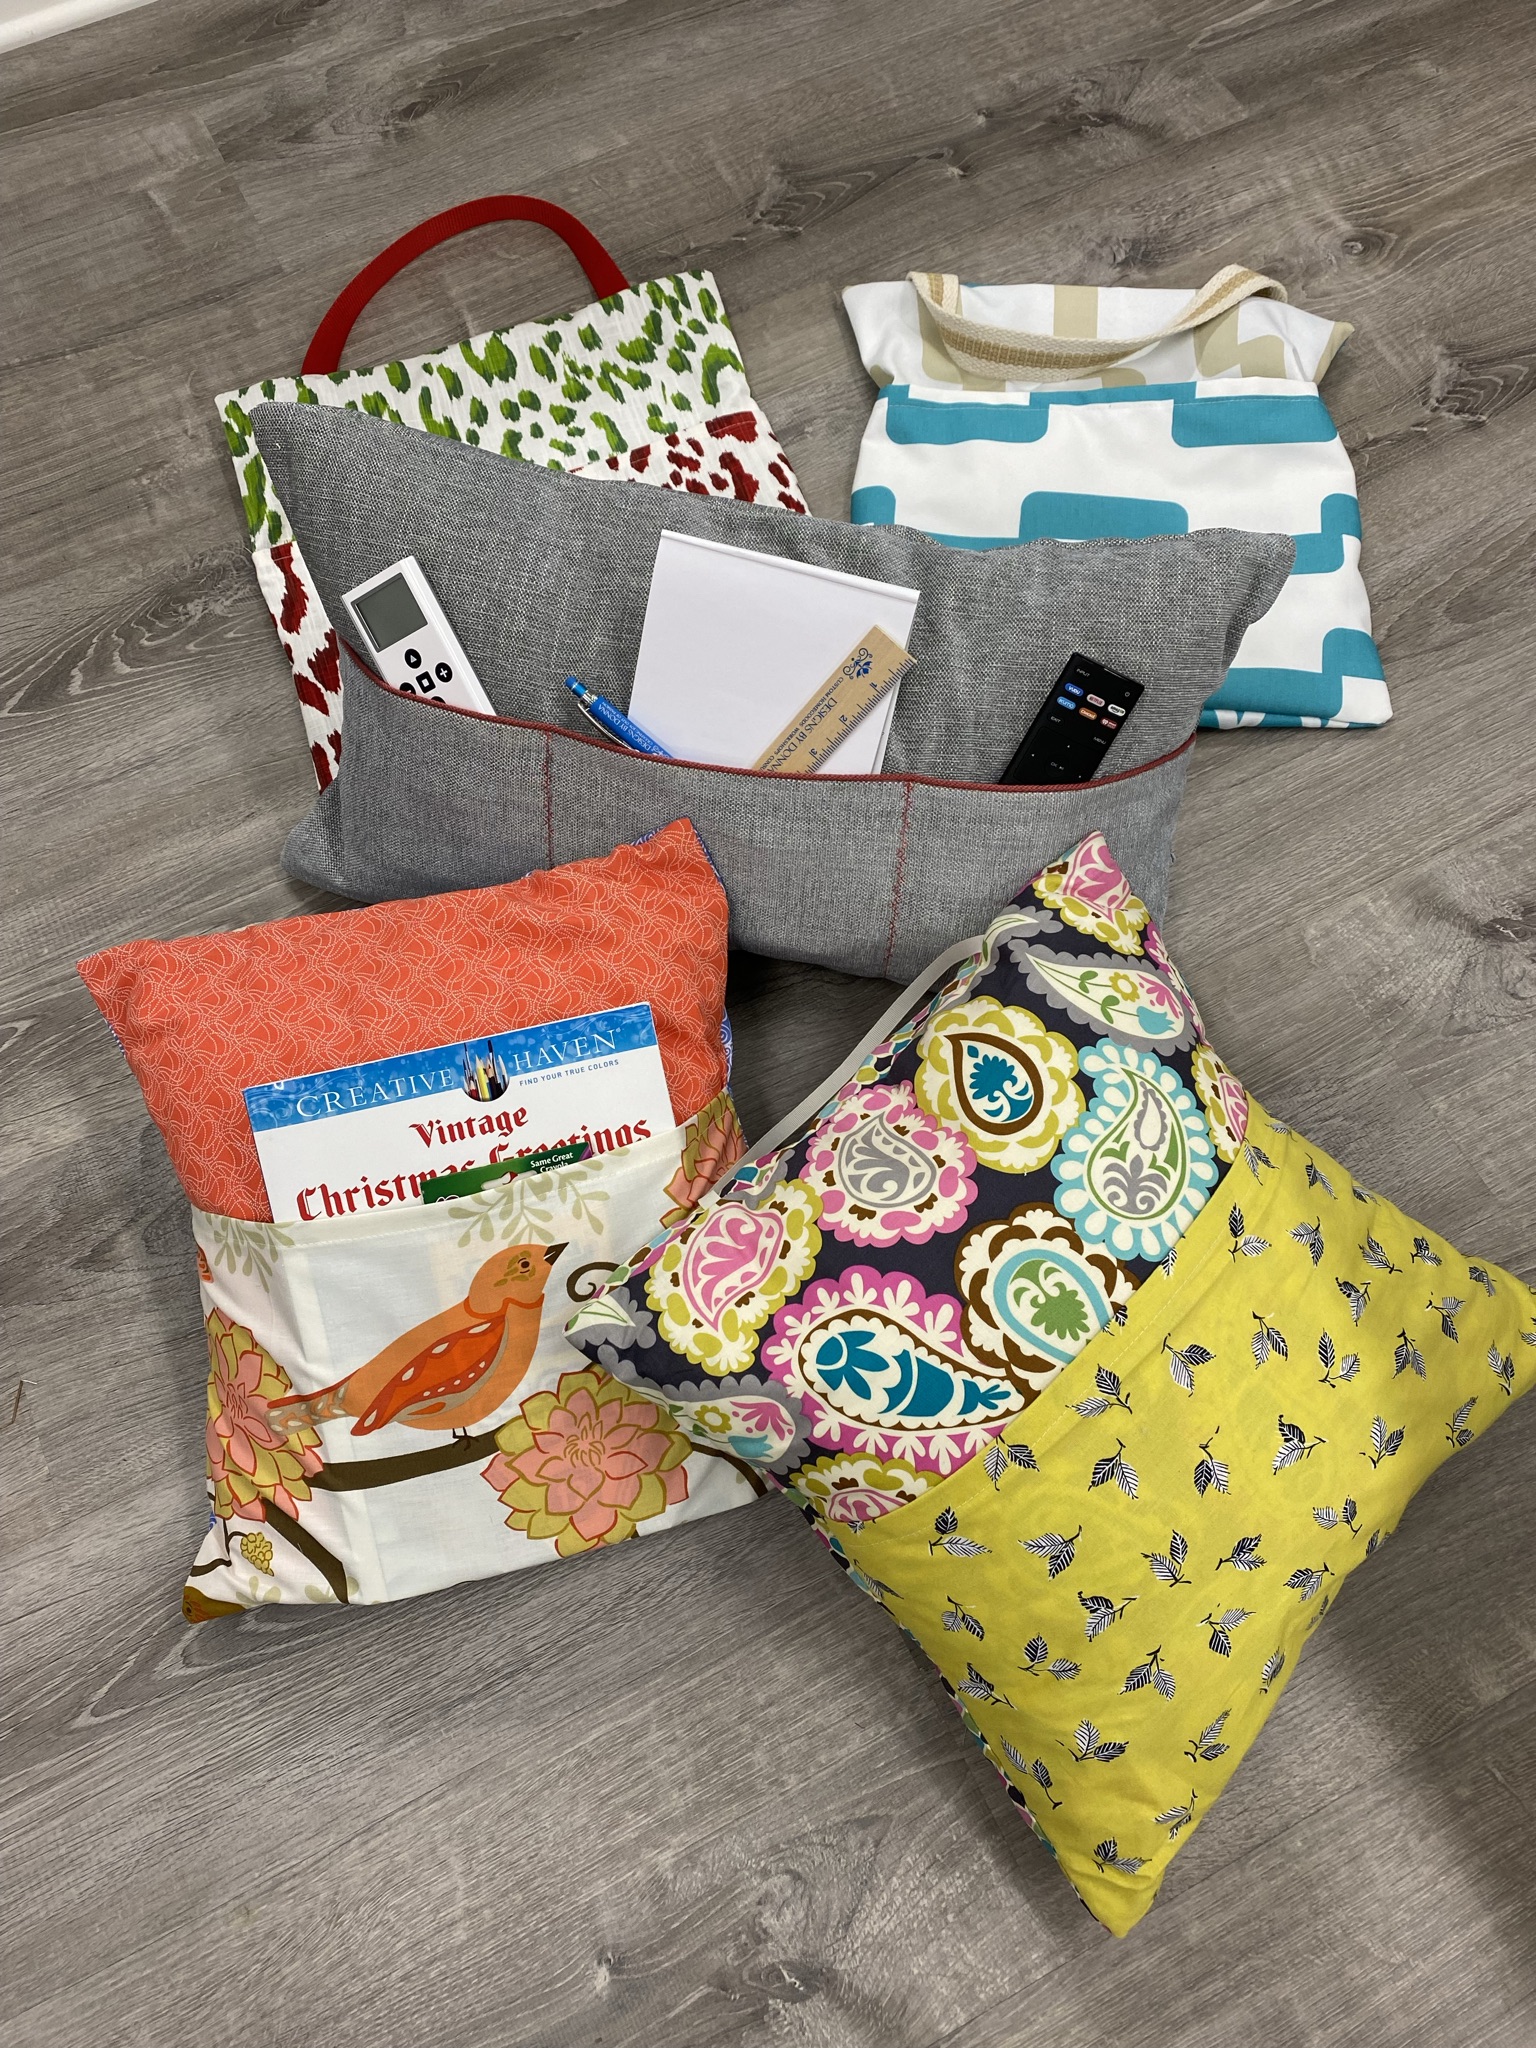
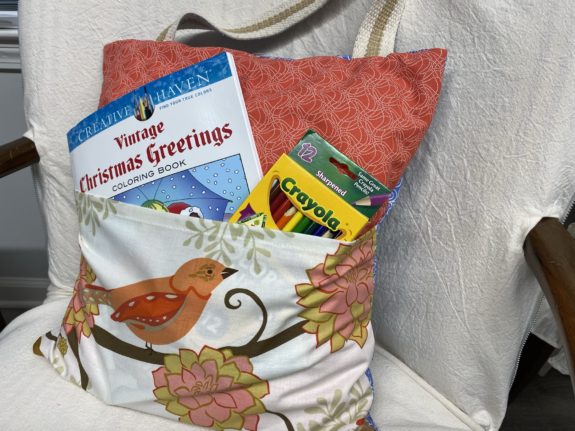
What is a pocket pillow? It is a pillow with a pocket on one side to insert a book, or a package of crayons or colored pencils to take along with you on a car trip or to your favorite reading spot at home.
These make great gifts for children and adults alike. Pocket pillows are quick to make, allow you to use fabric remnants, and are a hit with the gift recipients. When I give a book as a gift, I like to make a pocket pillow to go along with the book. That being said, it’s a good idea to have the book before making the pocket pillow. You want to make sure the pillow is the correct size to hold the book.
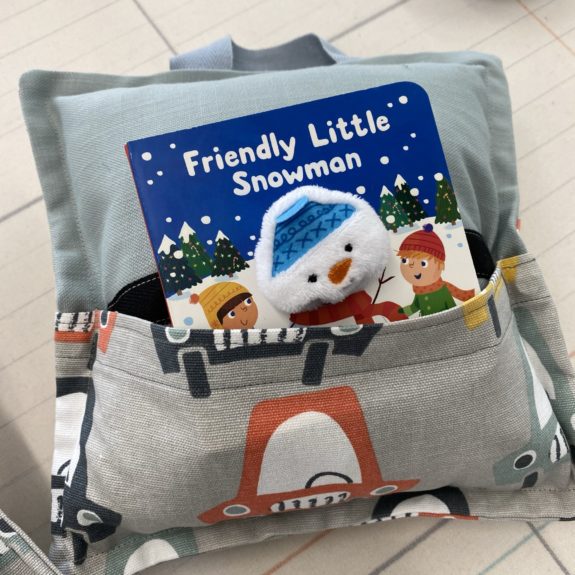
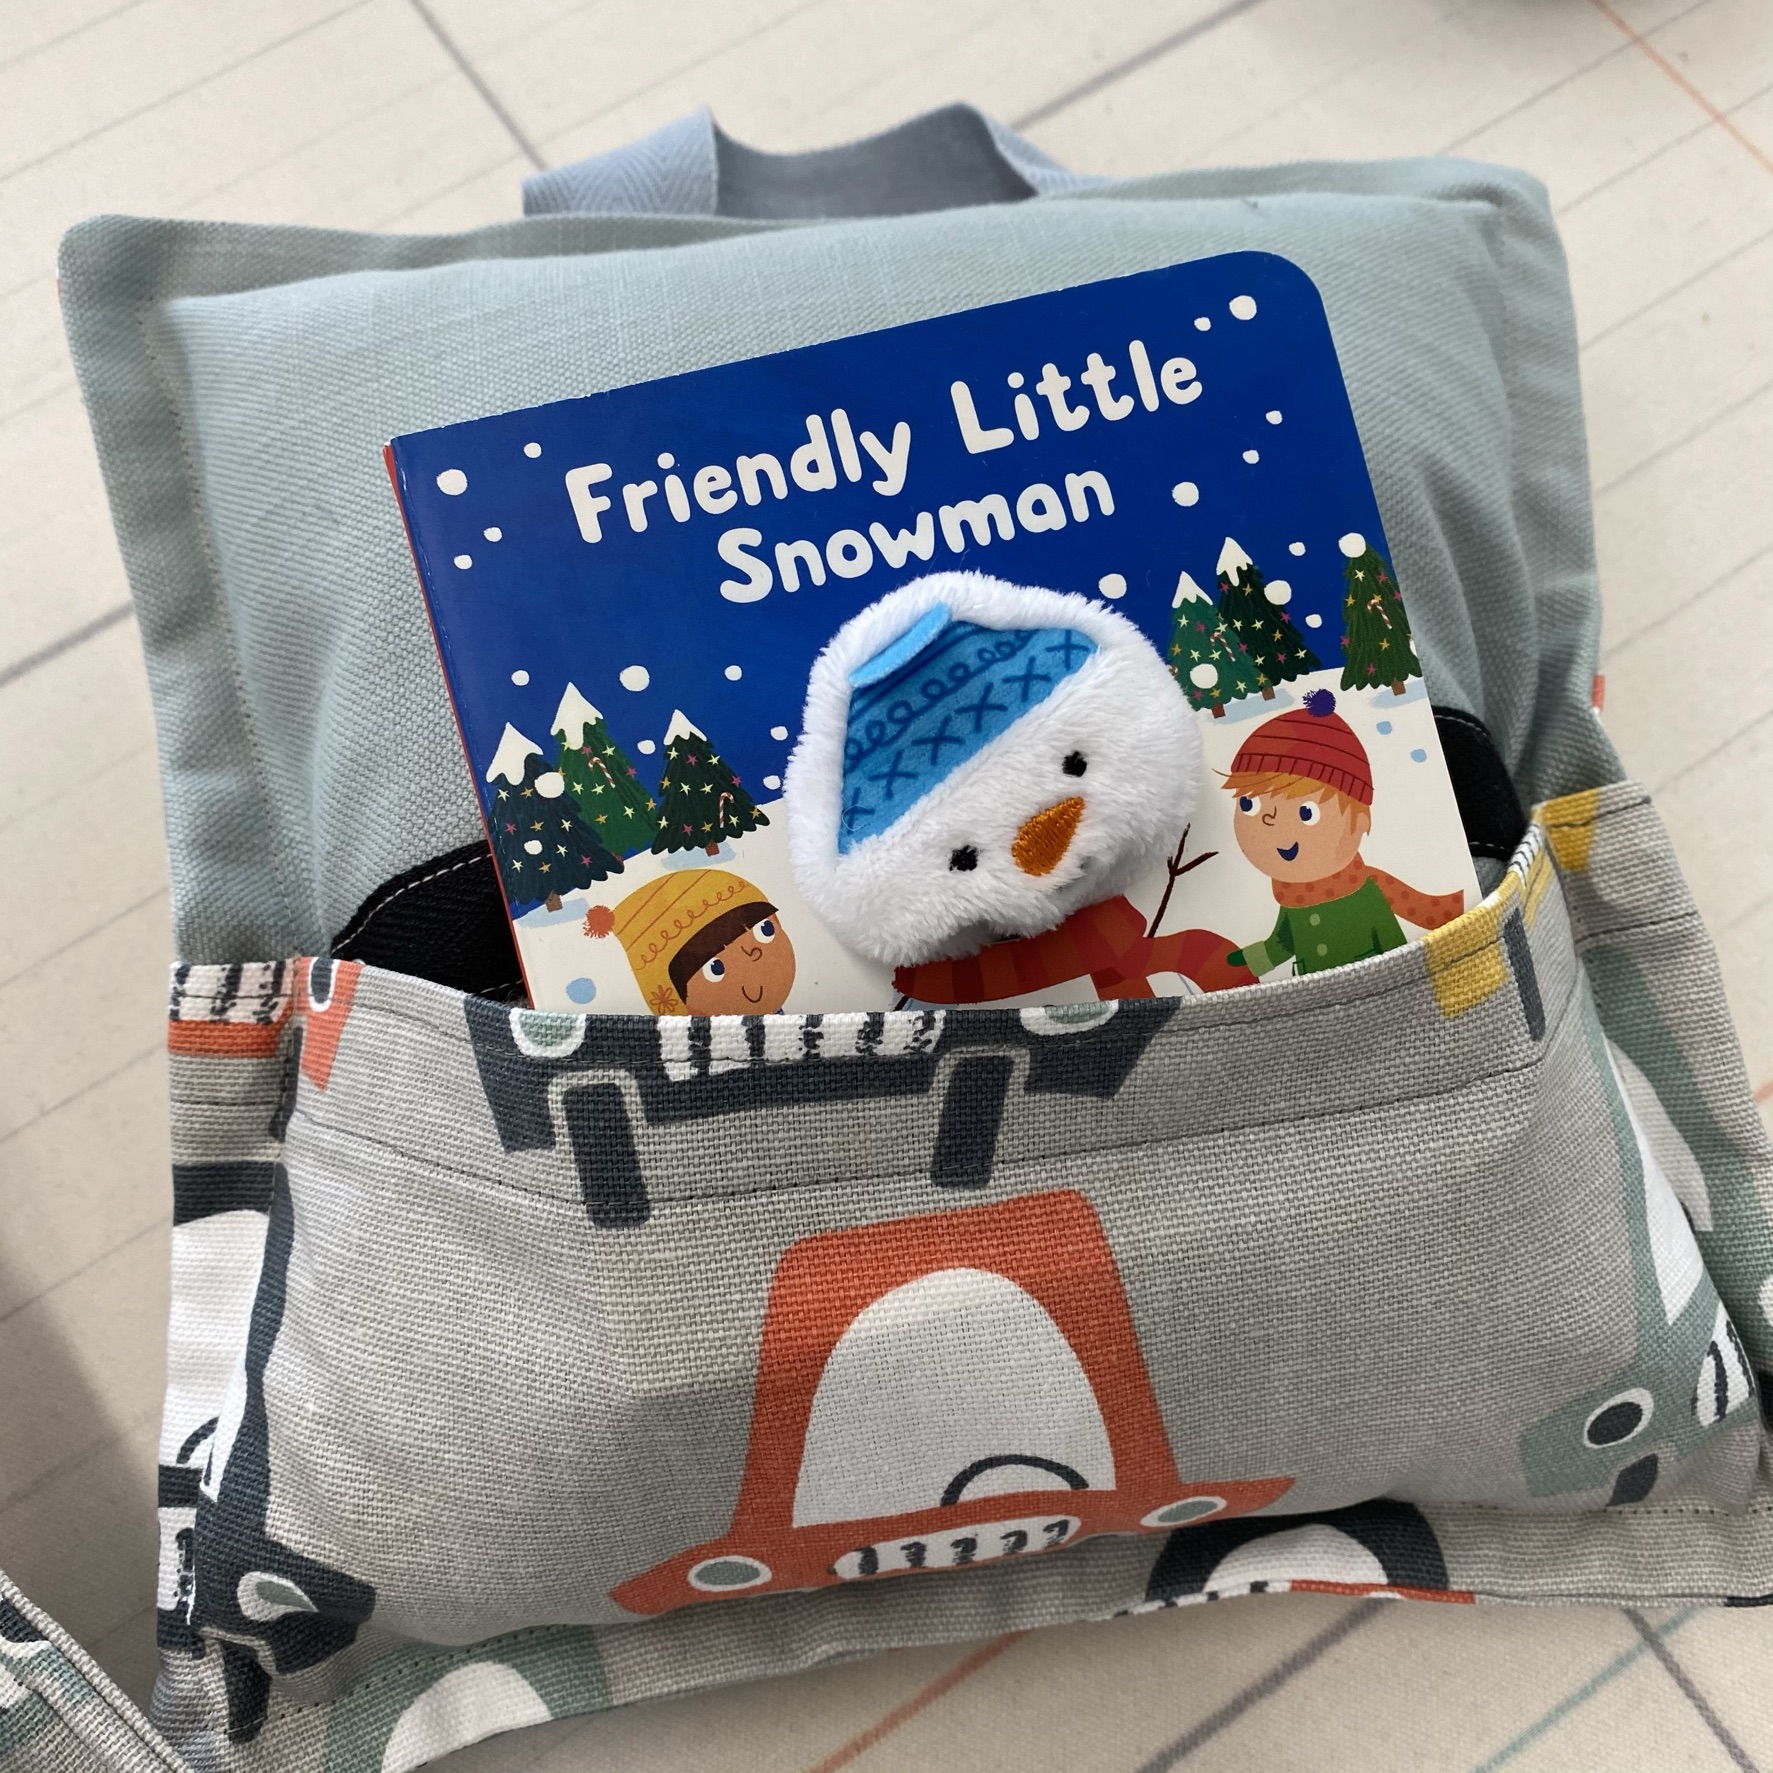
A small pocket pillow was made for this tiny book.
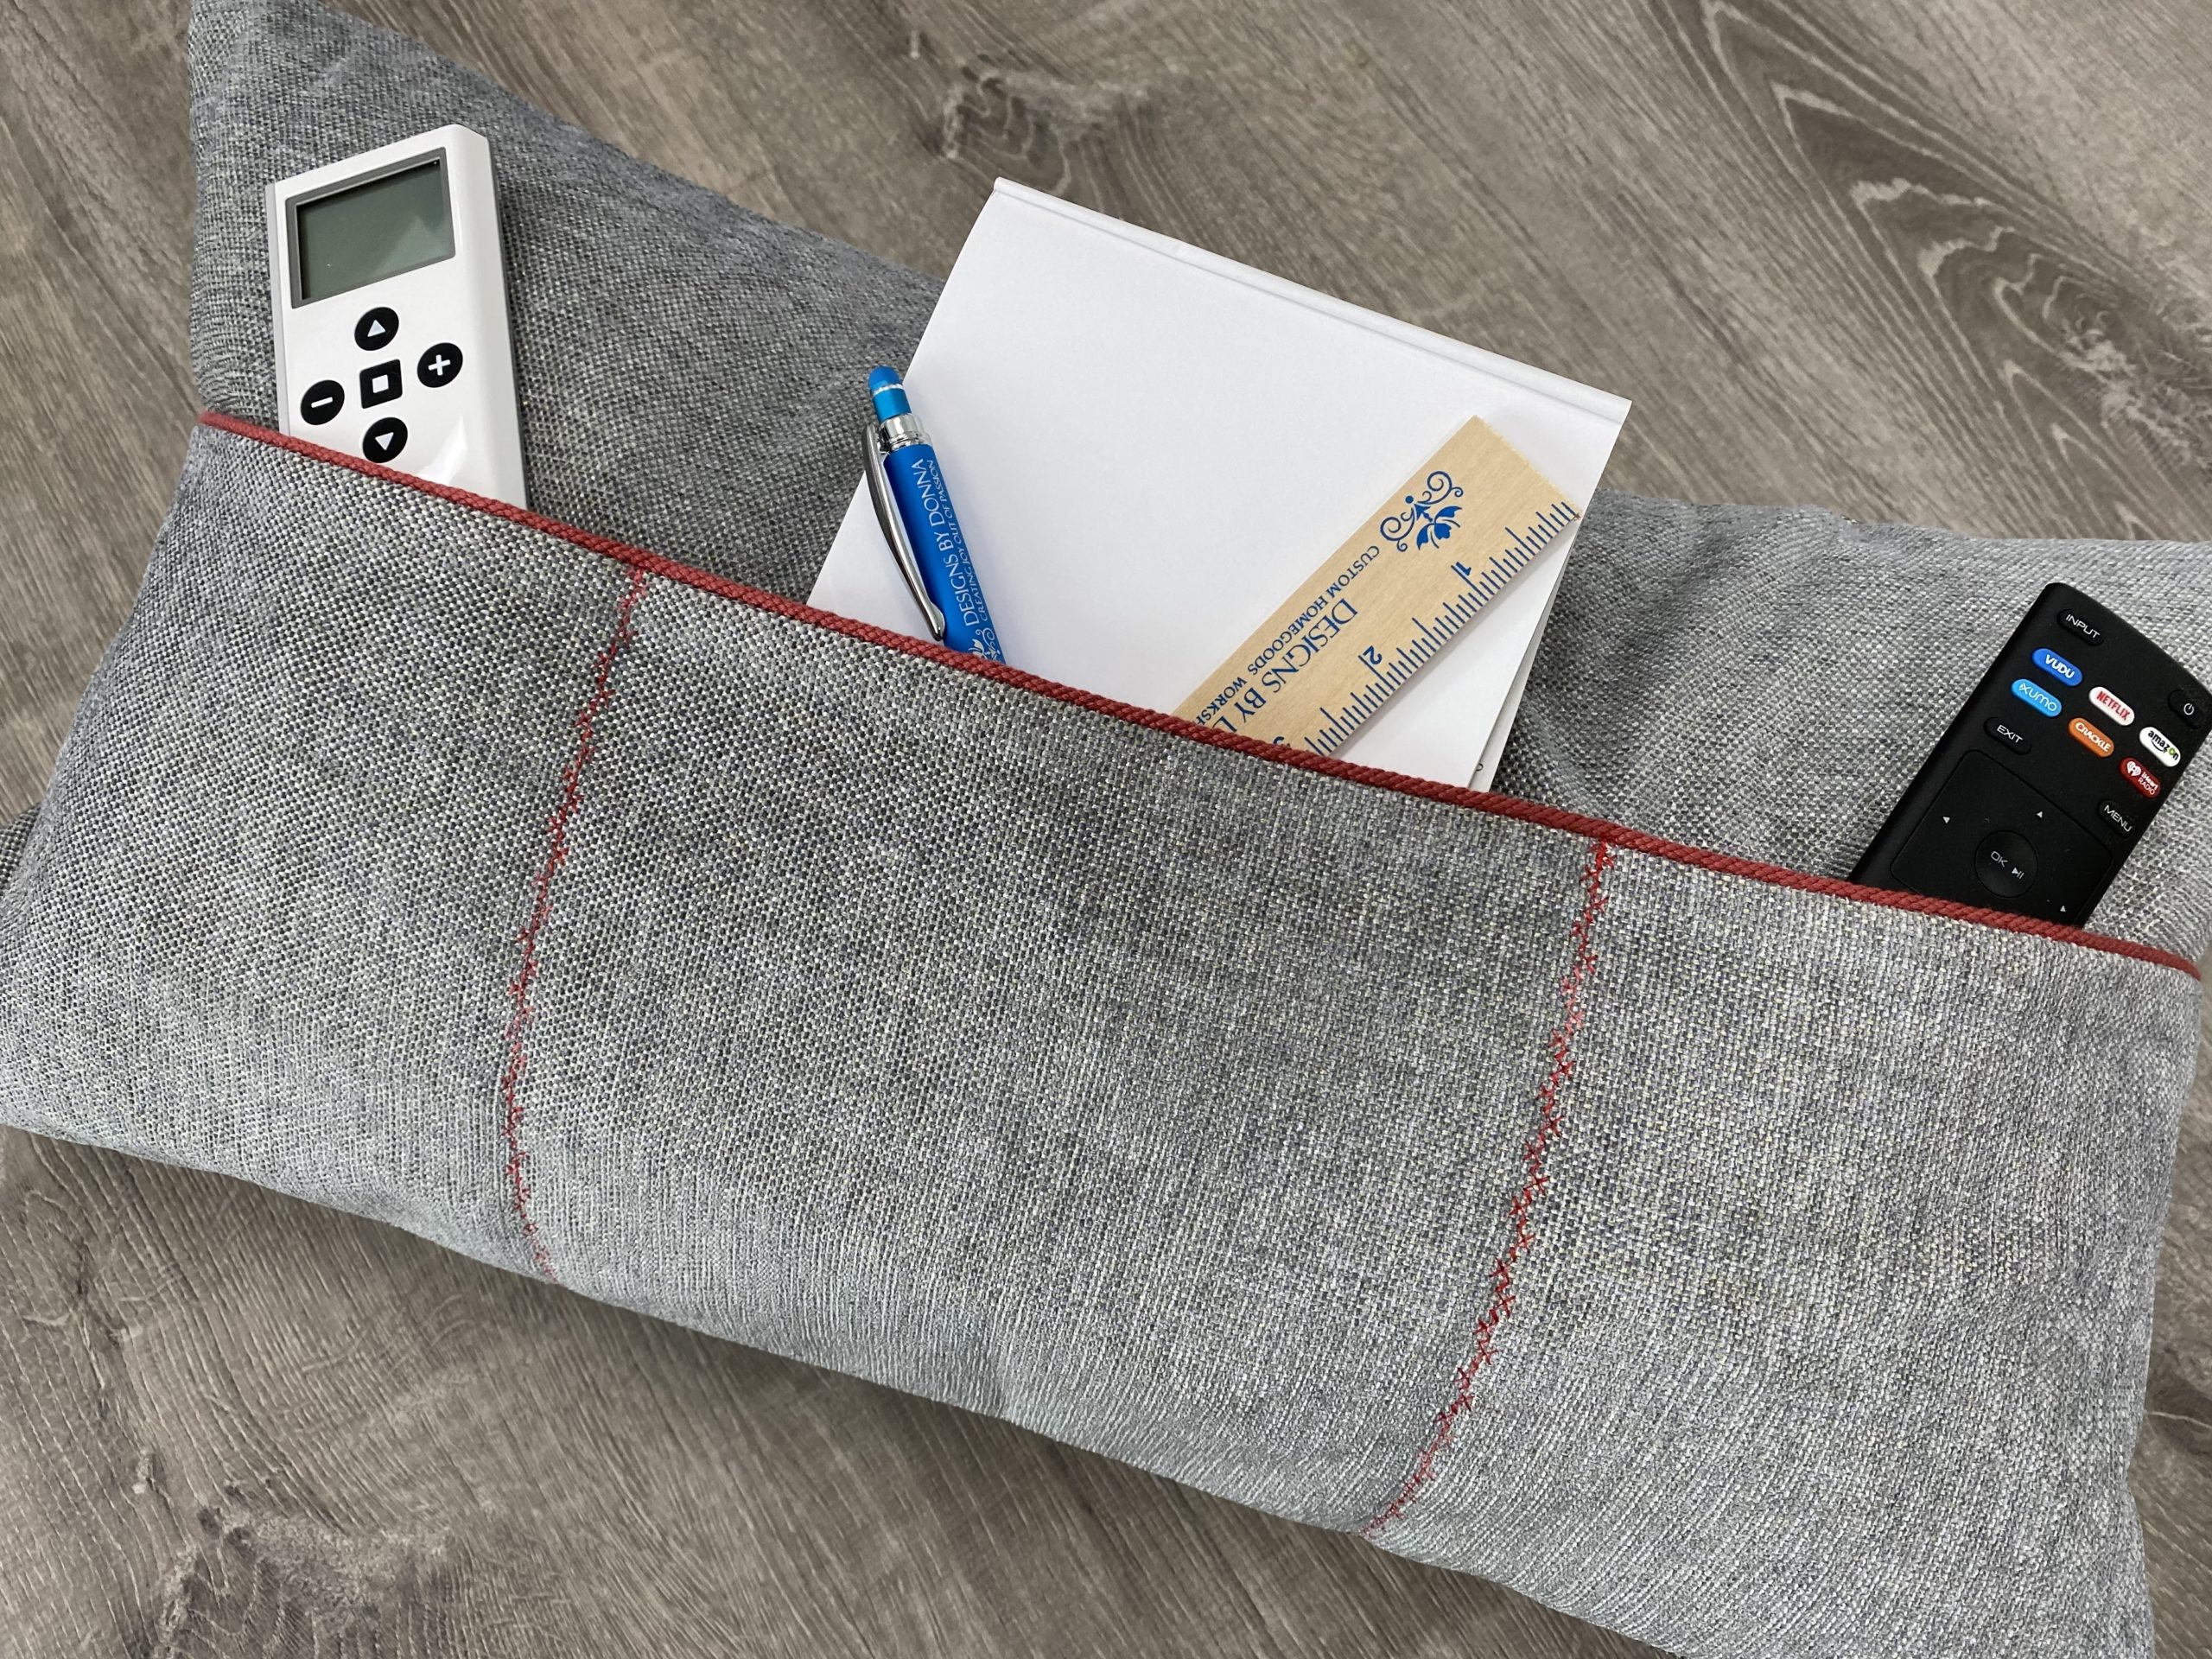
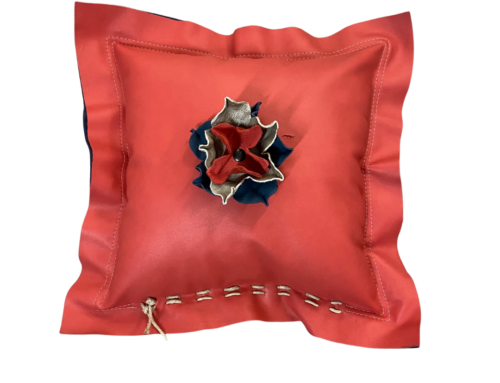
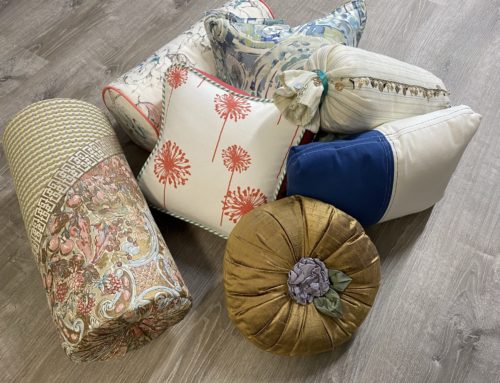
Why not make one for yourself? These may be made square or rectangular and may be a great way to keep track of the TV remote as a pillow on the bed.
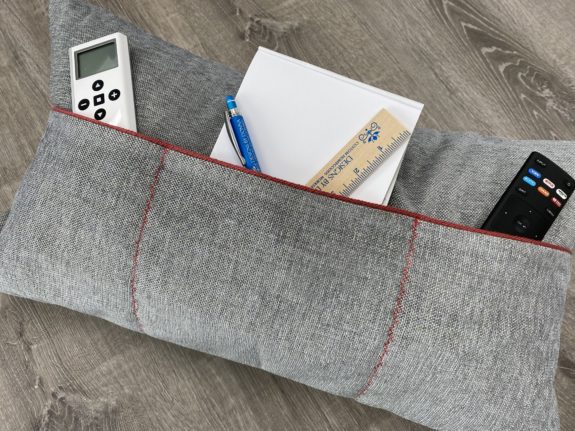
Keep everything in its place with a pocket pillow with sections.
For this demonstration, I will give the instructions based on a 16” x 16” pocket pillow with a handle for carrying. Once you understand the directions, you can experiment with making pocket pillows for other sizes.
Read the supply list and step-by-step directions below. Then look at this step-by-step video to see how I made the pocket pillow.
Start and stop the video and sew along with me. How To Make a Pocket Pillow
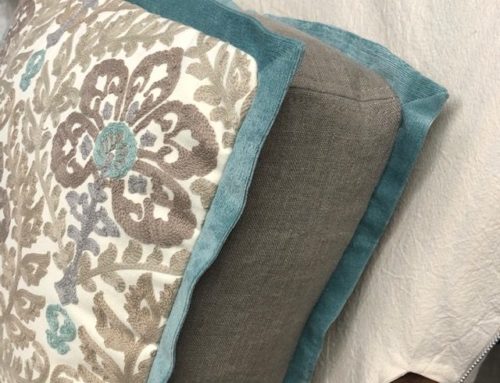
Home décor or quilting fabrics may be used for this project. Do not use knit or stretchy fabrics.
Note: A one-half seam allowance is used for all seams for this pillow.
Supplies for a 16” x 16” pocket pillow:
One pillow form to fit a 16” x 16” pillow cover. For this project, I used a polyester cluster pillow insert available from Rowley Company. These pillow inserts are true to size so I don’t have to order up a size. So for this project, I used a 16″ insert. To learn more about how to select the correct pillow insert for your project, read more in this PDF download.
Decorative fabric as below:
1 piece @ 17” x 17” for the pillow front main fabric
1 piece @ 17” x 11” for the pillow front contrast fabric for the pocket
2 pieces @ 17” x 12” for the pillow back.
Ribbon or some type of material for the handle. This should be cut the same width as the pillow front fabric, so for this project, cut the handle material 17″.
For ease in marking a square pillow, I used a pillow template, PF10. This see-through template has markings for pillow sizes 10″ through 24″.
Step 1.
After cutting your fabric, serge or zig-zag around all edges of each piece.
Step 2.
The pillow back sections will overlap to create an envelope-style pillow back. Press ½” to the back of the fabric along one 17” side. Press this over again. Sew along the folded edge of each piece. Note: if your fabric has a directional pattern, you will be folding and sewing along the top of one piece, and the bottom of the second piece.
Step 3.
Overlap the back sections to make one pillow back @ 17” x 17”, making sure the top section overlaps the bottom section. Pin the side edges and stitch these two pieces together just shy of a ½” seam allowance.
Step 4.
Press ½” to the back of the fabric along the 17” edge of the pillow front contrast fabric. Note: If your fabric has a directional pattern, you will be folding and sewing along the top of the fabric.
Step 5.
Sew the 17″ piece of ribbon or handle material to the top of the pillow. Make a mark on the pillow front 3” from each outer edge. Match raw edges of the handle material with the raw edge of the pillow top. Pin in place and stitch just shy of the ½” seam allowance.
Step 6.
Place the prepared pillow pocket on the pillow front, matching the sides and bottom edges. Stitch the pocket to the pillow front just shy of the ½” seam allowance.
Step 7.
Place the pillow front and pillow back right sides together. Pin all four edges. Sew a ½” seam allowance all the way around the pillow.
Step 8.
Turn the pillow right sides out through the pillow back. Press the pillow. Insert the pillow form.
Step 9.
Insert the book or gift of your choice in the pillow pocket and enjoy your creation.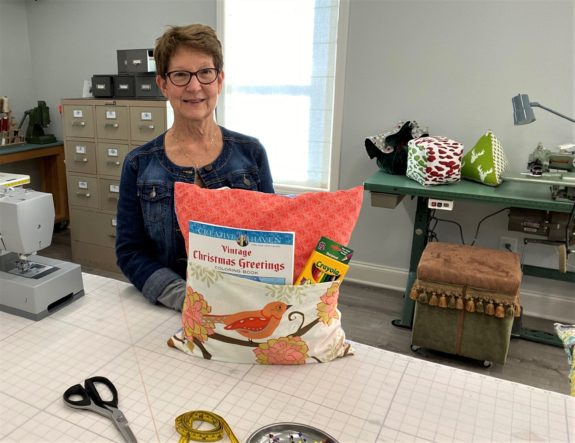
What other uses do you have to use your fabric remnants? Share your thoughts and ideas in the comments so we can all learn from each other.
Happy sewing and creating!

